How To: Check the logs in Ginesys POS and Ginesys Web
Logs need to be checked to identify errors and check if the software is working as it should.
IMPORTANT
NOTE:
Logs file name will start with “ApplicationName_” for example - logs for POS Application will start with "GINESYS_POS_"
Step-by-step guide
Follow the given steps to check the logs in Ginesys POS:
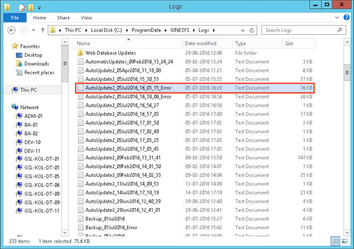
- Ginesys POS log files can be accessed by entering the following path in the Windows Explorer: C:\ProgramData\GINESYS\Logs.
- Sort it by - Date Modified.
- Select the latest text file.
Important information
- Location of all log files are same whether in POS or HO - i.e. C:\ProgramData\GINESYS\Logs - HO has separate folders for each application, while POS logs are written in files directly.
- POS log files are arranged alphabetically date wise - error logs are marked at the end
- In case the Program Data file is hidden follow the steps given below to Unhide it.
Navigate to the Control Panel.
Select Appearance and Personalization option.
Within the Folders option, select Show hidden files and folders.
This will open the Folder Explorer Options menu.
Uncheck the Hide protected operating system files (Recommended) checkbox to view System Files and Folders.
Step-by-step guide
Follow the given steps to check the logs in Ginesys Web:
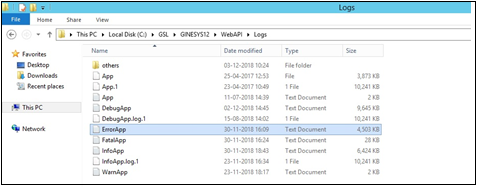
- Go-to the following path: D:\GSL\GINESYS12\WebAPI\Logs
- Choose the ErrorApp.txt file.