Adding, Editing & Deleting the WIP Clearance
Work-in-progress (WIP) is a production and supply-chain management term describing partially finished goods awaiting completion. Sometimes we need to clear the WIP Material for some emergency purpose. This article describes how to Manage WIP Clearance in Ginesys HO.
Prerequisites
- The users' role must have access to the WIP Clearance feature in Production module by providing the level 4 Role Privilege (Save, Edit and Delete) to it in Admin – Security Settings – Role Privileges.
- WIP Transaction must be exist.
Step-by-step guide
The process is divided in the following steps:
- Go to Ginesys Web > Production > Operations > Process > WIP Clearance.
- WIP Clearance window will be opened.
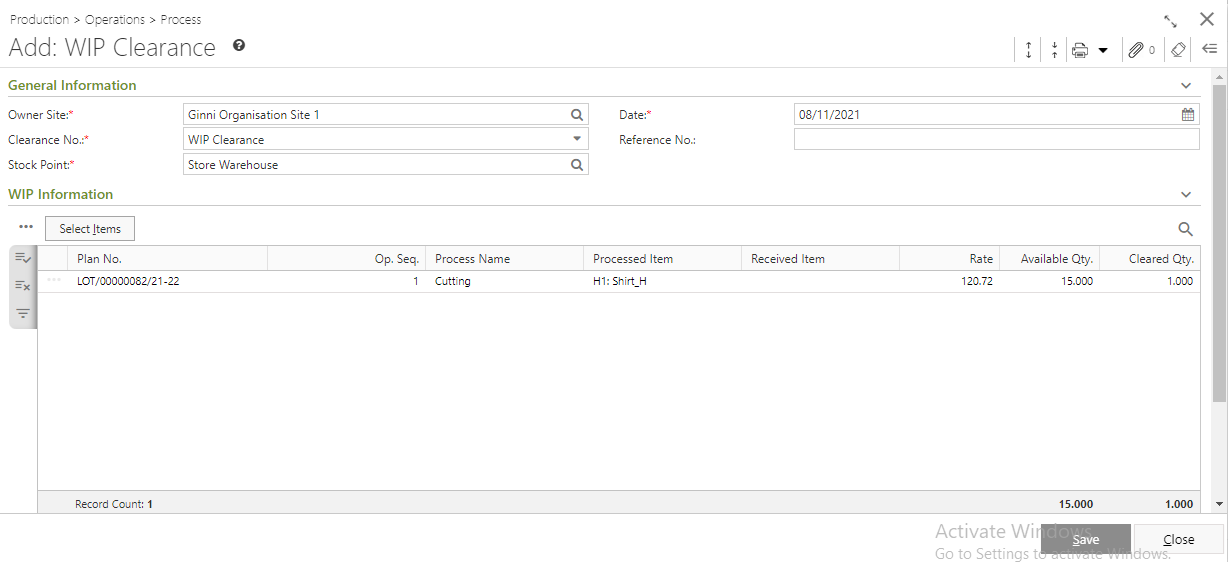
- You will get three sections - General Information, WIP Information & Others.
- General Information:

- Select the Owner Site (Mandatory Field) for which you want to create the WIP Clearance.
- Select Clearance No. (Mandatory Field) from drop down list.
- System Date will be automatically populated in the Date (Mandatory Field) field.
- Select the Stock Point (Mandatory Field) from the look up window.
- You can also put in Reference no.
- WIP Information:
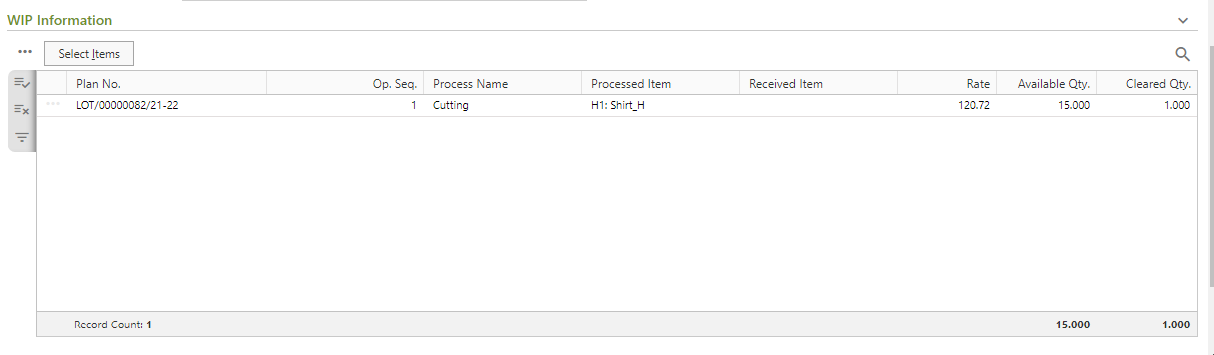
- You need to add items in the WIP Information by using Select Items.
- After selection of items, click on Populate button.
- Selected item(s) will be populated with details and the details of the item(s) will be populated in the WIP Information section. You need to provide Received Item for that particular quantity.
- You need to add items in the WIP Information by using Select Items.
- Others:

- Put in the Remarks field.
- Once done, click on the Save button to save the record.
- You will get a message - "WIP Clearance No.: <WIP Clearance No.> generated successfully.".
Prerequisites
- The users' role must have access to the WIP Clearance feature in Production module by providing the level 4 Role Privilege (Save, Edit and Delete) to it in Admin – Security Settings – Role Privileges.
- WIP Clearance must be exist.
Step-by-step guide
The process is divided in the following steps:
- Go to Ginesys Web > Production > Operations > Process > WIP Clearance.
- WIP Clearance window will be opened.
- Select the WIP Clearance No. you want to edit.
- Go to Action > Edit or you can double click on it to open the document.
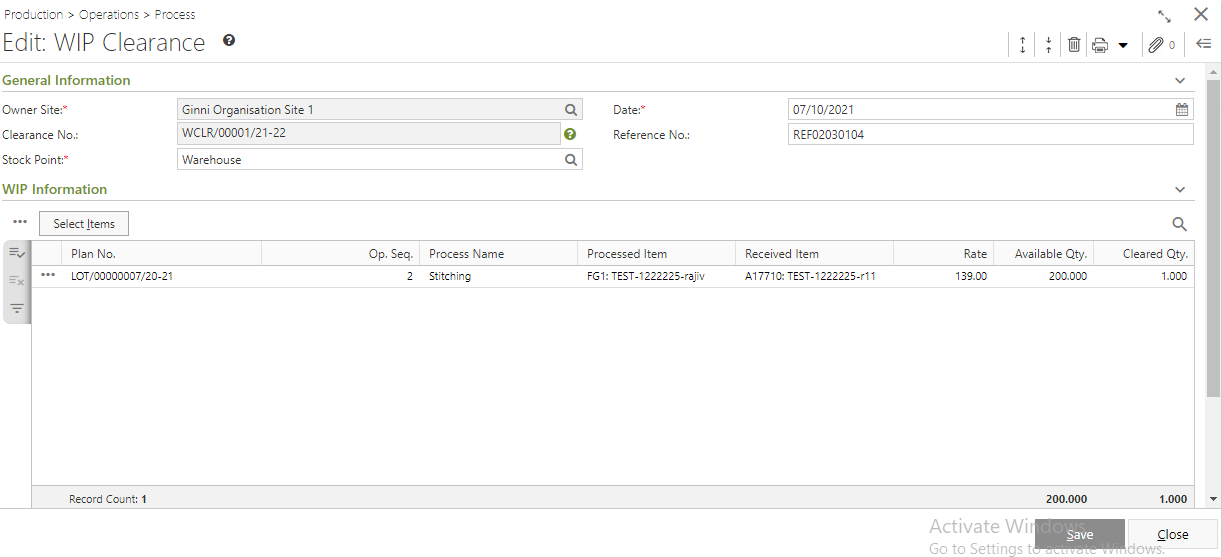
Modify the required fields. You cannot modify Owner Site and Clearance No.
- Click on Save Button to save the modified records.
- You will get a message - "WIP Clearance No.: <WIP Clearance No.> generated successfully.".
Prerequisites
- The users' role must have access to the WIP Clearance feature in Production module by providing the level 4 Role Privilege (Save, Edit and Delete) to it in Admin – Security Settings – Role Privileges.
- WIP Clearance must be exist.
Step-by-step guide
The process is divided in the following steps:
- Go to Ginesys Web > Production > Operations > Process > WIP Clearance.
- WIP Clearance window will be opened.
- Select the WIP Clearance No. you want to delete.
- Go to Action > Delete.

- You will get a message - "Record(s) once deleted cannot be retrieved. Are you sure you want to delete this transaction?"
- If you click on Yes, you will get a confirmation message - "WIP Clearance: <WIP Clearance No.> Document deleted successfully".