How To: Generate and use a self-signed SSL certificate to enable HTTPS for Ginesys application
Ginesys has capability to capture of item image directly through a connected camera. Web browser should be grant access to connected camera to stream the images into Ginesys. As a pre-requistes, Ginesys web must be accessed over a secured HTTPS protocol, else modern browsers don't allow to enable camera integration. HTTPS can be configured, either using a valid SSL certificate purchased from digital certificate vendor or using a self-signed certificate (self prepared). Obviously the self-signed certificate has certain limitation and ideal for dev-test environment. For production environment, it is always recommended to use a valid SSL certificate.
Limitation of self-signed certificates
It is strongly recommended to use a valid purchased SSL certificate issued by Certificate Authority in production web server.
Following are the limitation of self-signed certificates
- All digital certificate comes with an validity of 3 years or more. But the self-signed certification is valid for a year only. So you need to keep renewing it every year.
- The encryption may not be efficient enough to prevent cyber attack.
- When using a self-signed certificate, the browser will detect the site as suspicious (phissing site) and warn before displaying the site. You have to override the warning manually every time you browse. This will create a mal-practice among users and may be wrongly applied for actual phishing sites.
The following steps would guide users to generate a self-signed certificate and implement in IIS to access Ginesys application over HTTPS URL.
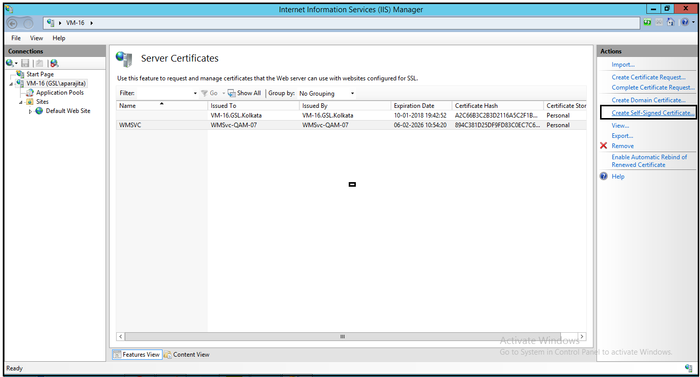
- Open IIS Manager (version 7 or above) by running inetmgr from Run command or browsing from Administrative Tools folder in Start Menu.
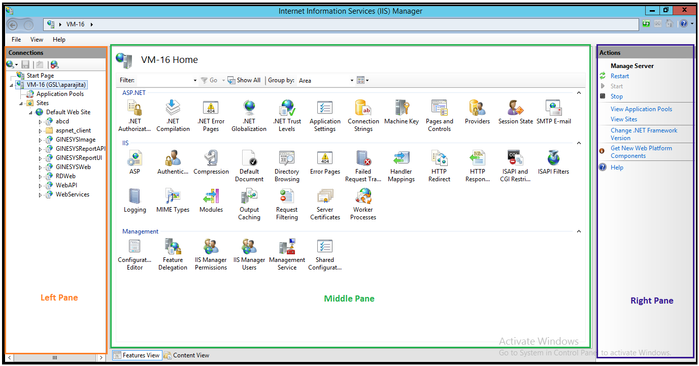
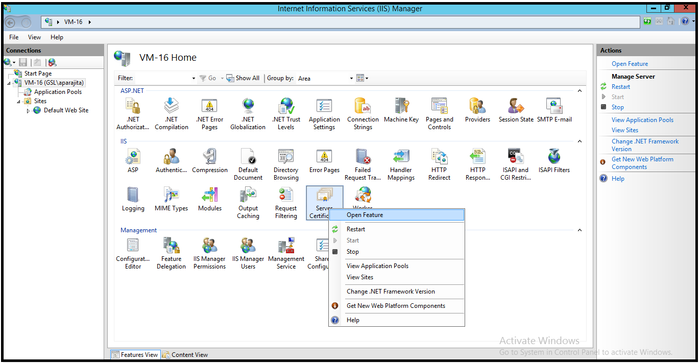
- Select the Server on the left hand pane and select Server Certificates in the middle pane.
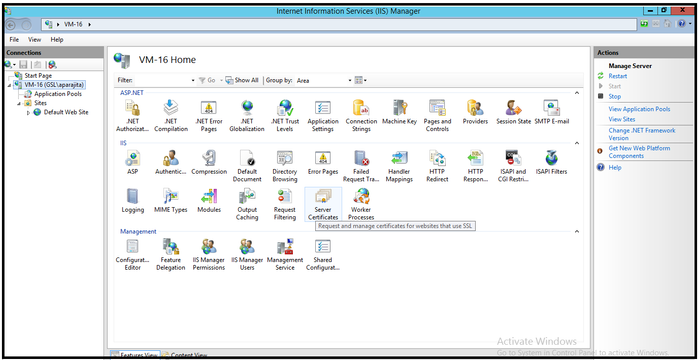
- Right click Server Certificates and select Open Feature.
- Once the Server Certificate feature opens in the middle pane, select Create Self-Signed Certificate.
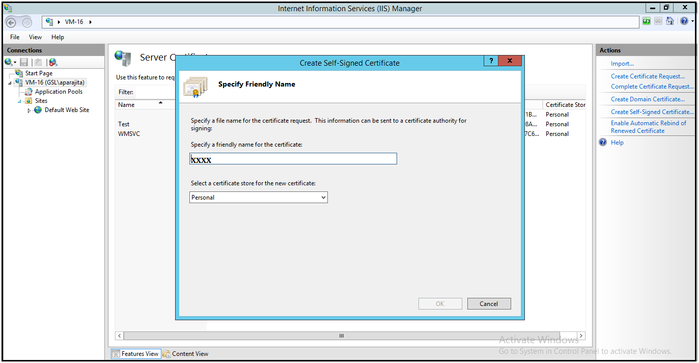
In Create Self-Signed Certificate window provide a name for the certificate you wish to create. Select Personal in the Select a certificate store for the new certificate.
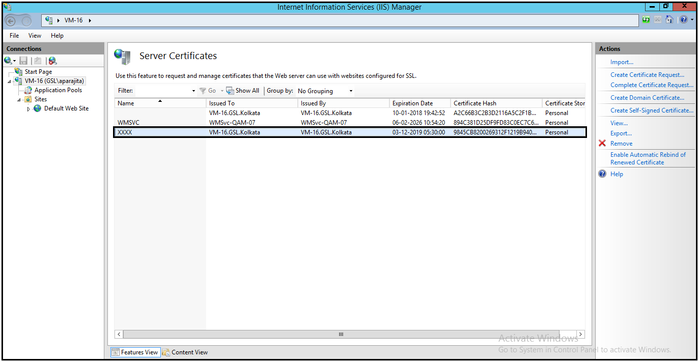
- The certificate with the given name will be registered automatically in the particular machine.
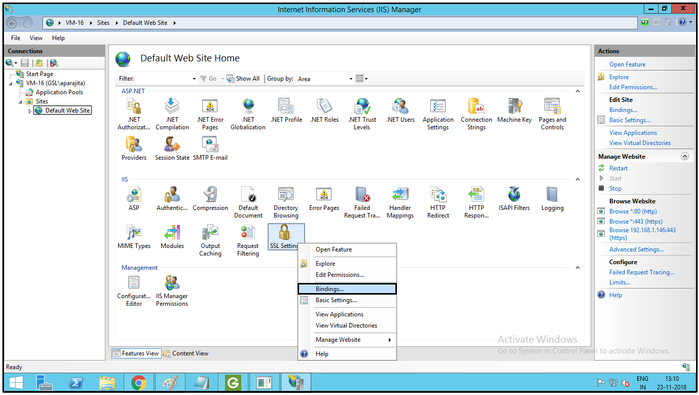
- Now select Default Web Site in the left pane.
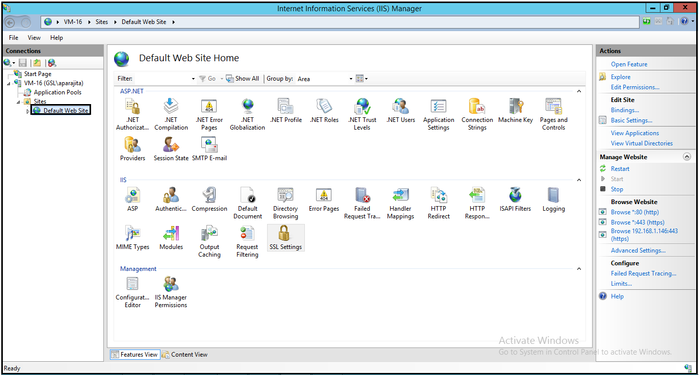
- Select SSL Settings and right click to select Bindings.
- In Site Bindings window, click on Add.
- In Add Site Binding, select https as Type and provide Port - 443. The default Port for https is 443.

- In the SSL Certificate drop-down, select the name of the certificate created by you in Step Number 6.
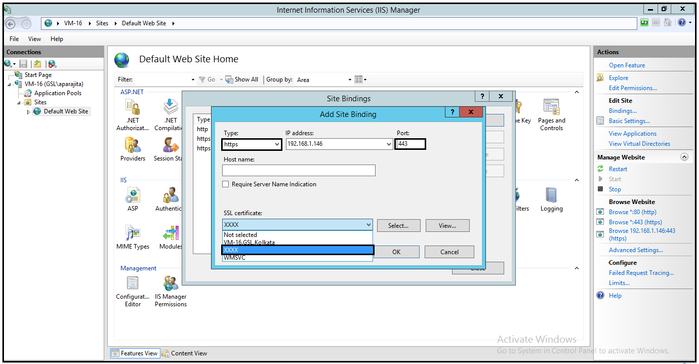
Then click OK.
- Now close the Site Bindings window.
Now open the Ginesys application in your browser with https notation before your application name ( https://<machine name>/GINESYSWeb/UI/index.html).
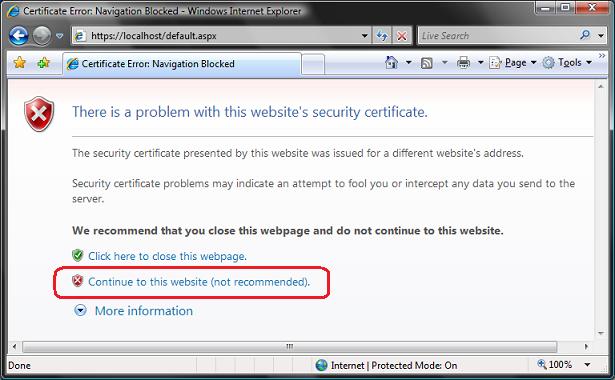
You may see this anti-phishing error message kick in:

Don't panic if this happens - it is just your browser being helpful by suggesting that a self-signed certificate on your local machine looks suspicious. Click the "Continue to this website" link to bypass this security warning and proceed to the site.