Adding, Editing, Deleting & Printing Sales Credit Note in Ginesys Web
A credit note in GST is a document issued by the supplier in the following cases:
Supplies are returned or found to be deficient by the recipient - When goods supplied are returned by the recipient of goods/services supplied are found to be deficient by the recipient, the supplier should issue a Credit Note. The credit note serves the purpose of reducing the value of the original supply.
Decrease in taxable value - When a supplier requires to decrease the taxable value of a supply, he/she has to issue a credit note to the recipient.
Decrease in GST charged in invoice - When a supplier requires to decrease the rate or value of GST charged in an invoice, he/she has to issue a credit note to the recipient.
Prerequisites
- The users' role must have access to the Add app operation in the Sales Credit Note feature in Sales & Distribution - Operation - Invoicing through Roles in Ginesys Web - Admin - Security.
- Document Numbering Scheme must be present for the module.
Step-by-step guide
The process is divided into the following steps:
- Go to Ginesys Web > Sales and Distribution > Operations > Invoicing > Sales Credit Note.
- Sales Credit Note module will open.
- All the previously created Documents will be listed here.
- Click on Add button.
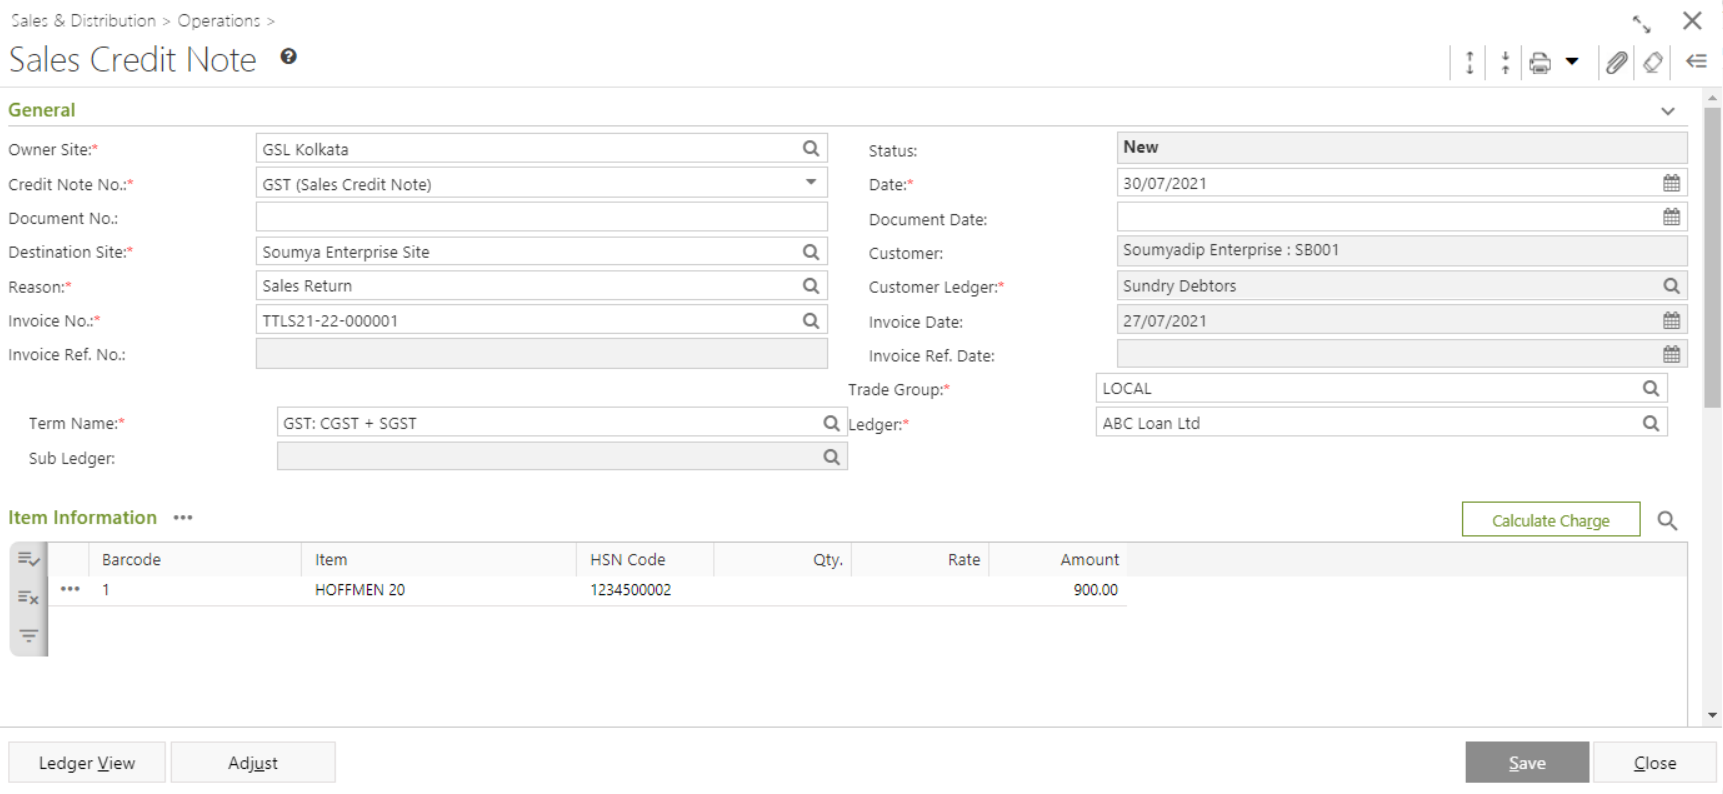
- Sales Credit Note window will open.
- You will get group of icons at the top right corner of the window

- Expand All: Clicking on this icon, all the sections will be Expand if they are collapsed.
- Collapse All: Clicking on this icon, all the sections will be Closed if they are expanded.
- Print Barcode: Clicking on the Down Arrow beside this icon, you will get Print Preference option. This option is used to print barcode.:
- Attachments: You can Upload some required documents from this option.
- Clear Form: Clicking on this icon, you can Clear all the data already entered.
- Open Side Panel: Clicking on this, you will get the details of the current Sales Credit Note as follows:
- Document Summary: In this section you will get the details of Selected Items, Sale Type, Owner Site, Modified by etc.
- Customer Details: You will get the Selected Customer Details like Address, Contact Details, Tax Region, Credit Limit, Overdue Amount etc.
- Customer Statistic: This section describes the Delivered not Invoiced amount, Outstanding Amount, Last Invoice Date etc.
- You will get three sections - General, Item Information and Others.
- General:
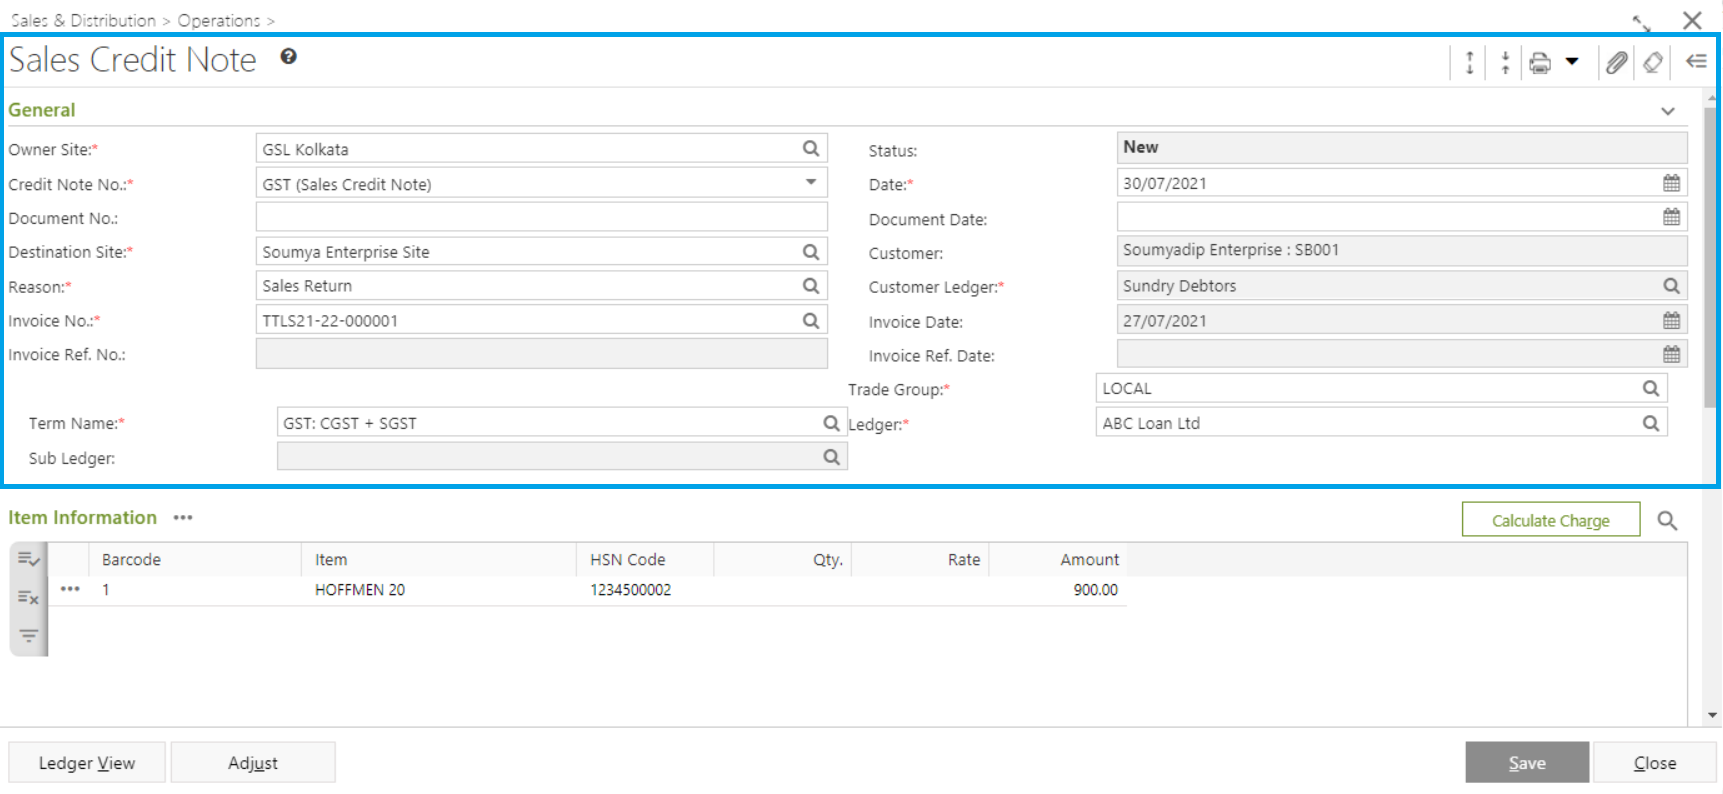
- Select the Owner Site (Mandatory Field) for which you want to create the Sales. By default, it will be populated with the connected site.(Owner Site wise General Ledger selection is applicable).
- Select Credit Note No. from the drop down list (Mandatory Field).
- Select the Destination Site (Mandatory Field) from the lookup window. Customer, Customer Ledger will be auto-populated as per Destination Site selection.
System date will be populated in the Date field (Mandatory Field). You can change the date as per your requirement. You can only select the past date from the system date but not any future date.
- Select the Invoice No (Mandatory Field) from the lookup window. Invoice Date, Trade Group, Ledger, Sub Ledger, Term Name, Invoice Ref. Date, Invoice Ref. No will be auto-populated as per Invoice No selection.
- Select Reason (Mandatory field) from the lookup window.
- Item Information:
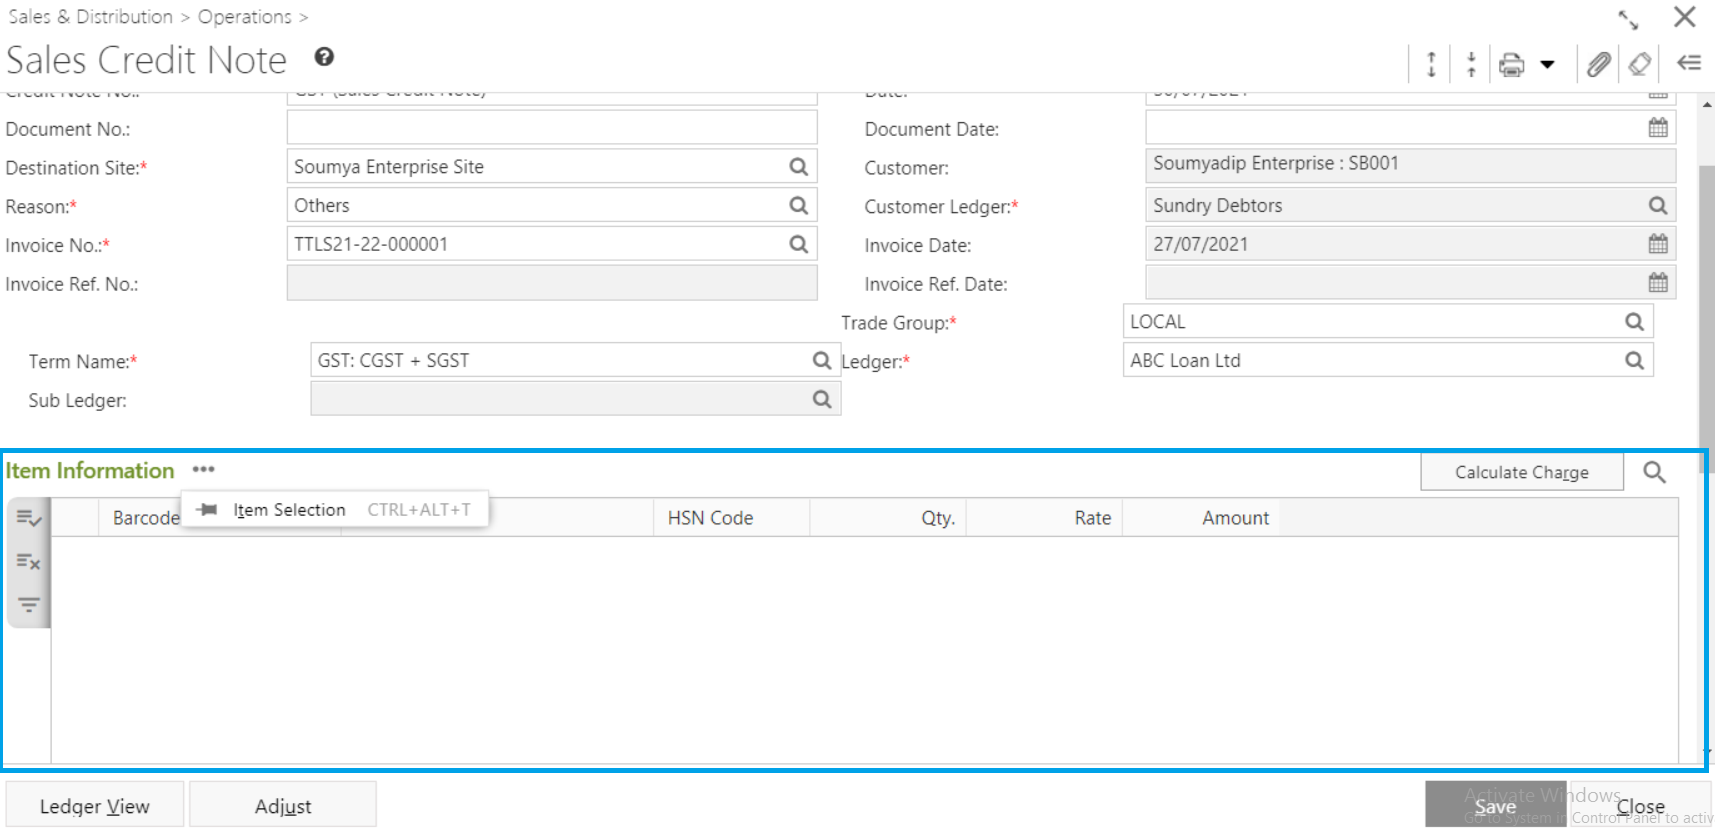
- You will get Item Selection to add items.
- The item will be populated with Barcode, HSN Code, Quantity, Inv Amount etc.
- A popup window will open.
- You will get a drop down list - Amount and Percentage.
- You need to put value according to the selected option
Click on the Populate button.
- The Item(s) will be populated in the Item Information of the main window Barcode, HSN Code, Inv. Quantity, Inv. Rate, Amount etc.
- If you click on the
 button left side of the populated item, you will get a drop down list.
 - requirement.
- Item Charge: The charges applied on the particular item will be displayed by clicking on this option. However, you may change the factors of the charges applied based on the settings in your user profile.
- Now you need to calculate Charge. Click on the Calculate Charge button. But even if you skip this step, charges applied will be automatically calculated on saving the form.
Charge will be calculated and the final amount after charge application will be populated as Net Amount.
If you click on any applicable charge, Applicable Item window will open. You can alter the charge factor if you have enabled the proper user profile setting.
The applicable charge amount or discount amount will be divided between all the items.
Note: If you want to calculate the charge of Adhoc items, you need to select Term Name in the General section. Otherwise you will get a message - "Term selection is required to calculate charges of items without Order. Please select Term to calculate charges."
The charge will be calculated as per the Term selected.
If you save the Sales Credit Note without charge calculation, you will get an alert message - "Charge is not calculated yet. On saving this entry, Charge will be automatically calculated based on selected Term. Please confirm to proceed."
- You will get the Ledger View and Adjust document to adjust document and get a overall ledger view.
- Click on the Save button to save Sales Credit Note. You will get a message "Document <Sales Credit Note No.> saved successfully."
Total Debit / Credit Amount can be apportioned to the selected items of the tagged invoice from version 12.4.4 onwards.