How To: Quickly create report in XtraReport
The new user end report feature XtraReport has been released with Ginesys Version 11.147.0. This step by step guide helps us to create a report from scratch in XtraReport.
Pre-requisites:
- GinesysReportDesigner.exe must be present in the Shared Location at HO. For example, if Ginesys is installed in C: drive then you can find the GinesysReportDesigner.exe in the following location: C:\GSL\GINESYS12\Shared\GinesysReportDesigner.exe
Step-by-step guide:
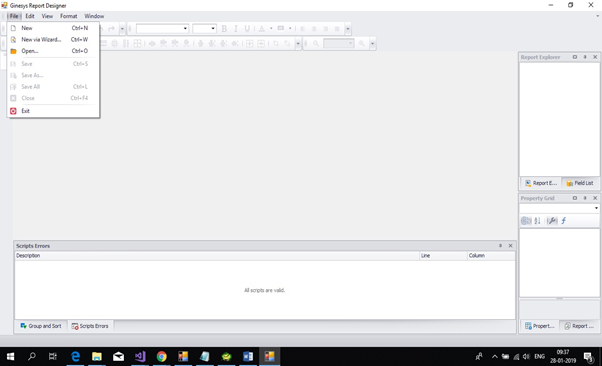
- Run GinesysReportDesigner.exe from the shared location by double-clicking on the .exe file.
- New report can be created from File > New; File > Open will open an existing report.
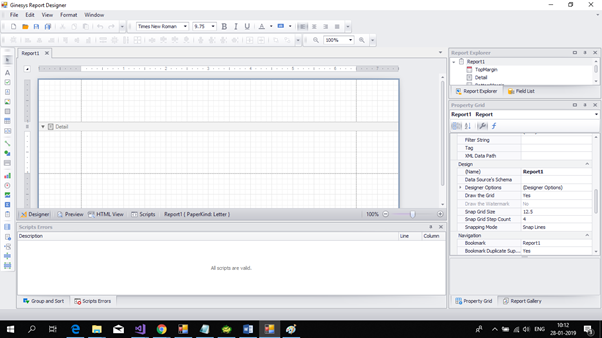
- Provide a name of the report (E.g. :POSInvoiceNew).
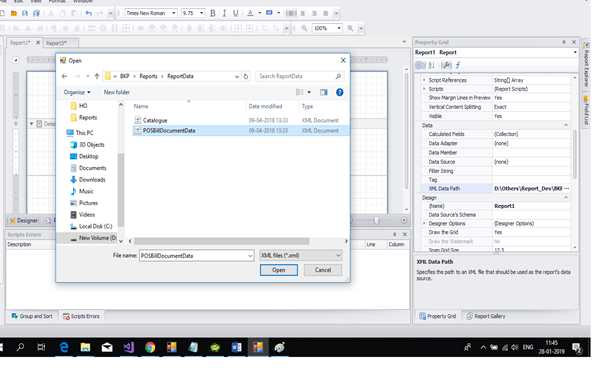
- Let's suppose you create a <POSInvoice.xml> from the Report Design Helper at POS and mail it to the report designer providing the following path for Report properties > XML Data Path > Select the same XML file.
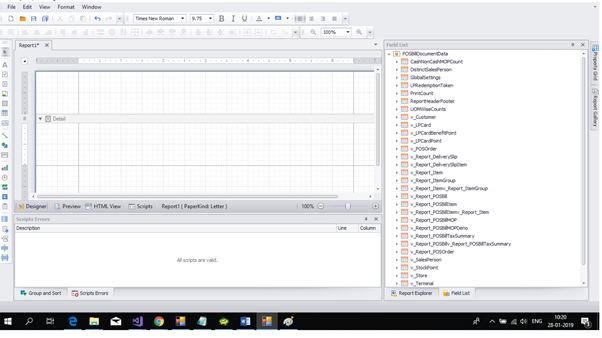
- You can see all the datasource or the views or tables on the right hand side that is in the Field-List.
- Put the header related information in the Report Header band.
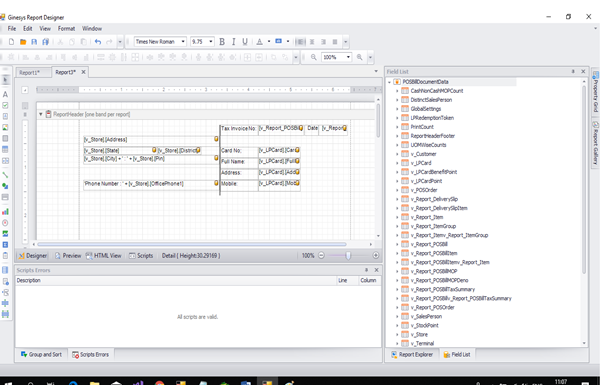
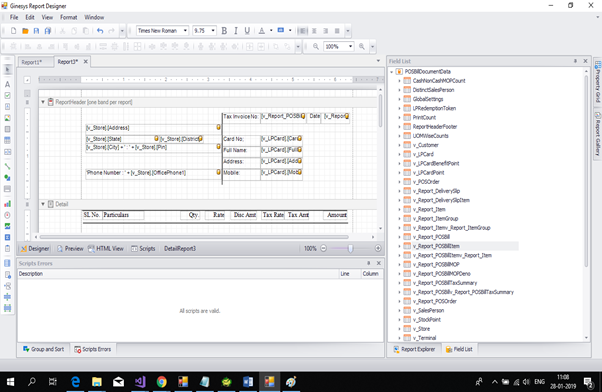
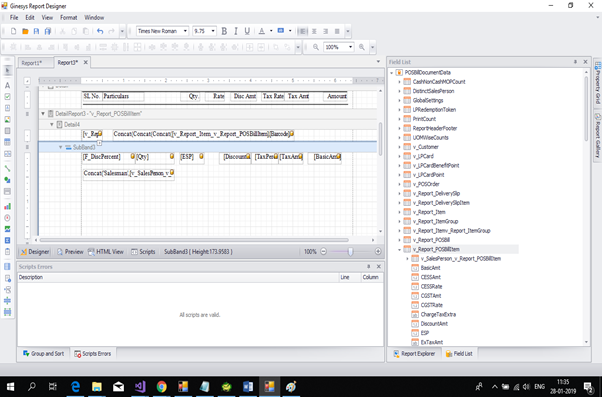
- Observe that there is a predefined Detail band present while creating a new report. You can put detail heading in that band.
- Right click in the detail band to see a context-menu.
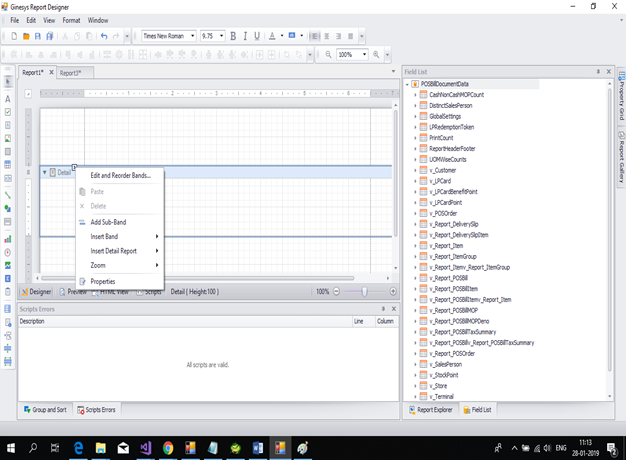
- Select the Insert Detail Report option from the context menu and you can see the datasource details on the right hand side being reflected in he new list that opens beside the context-menu.
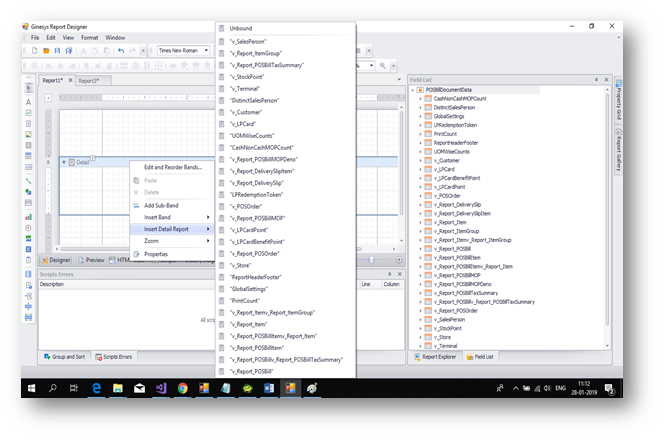
- Select the required datasource by clicking on it. For example we click on the “V_Report_POSBillItem” which is the bill item detail section.
- You can also put in other datasources (like MOP, DeliverySlip etc) as per your requirement
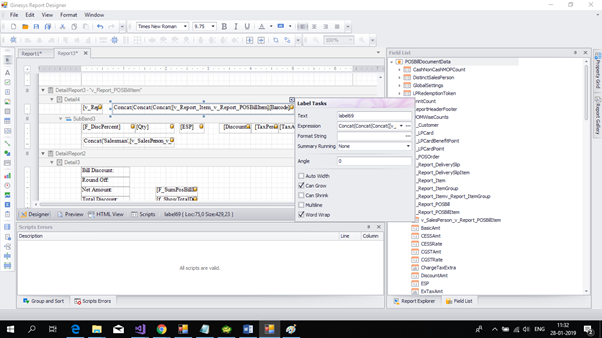
- You can add calculated fields as per requirement -
- Add a text object in that particular band.
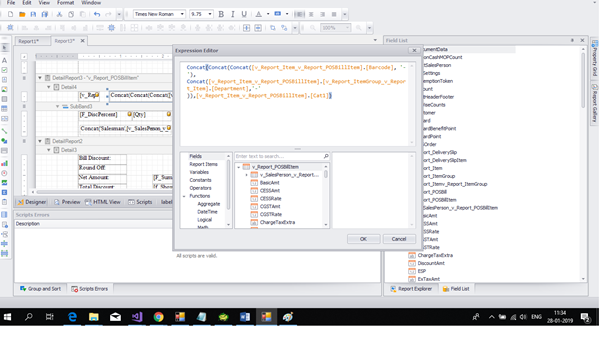
- Right click on the down arrow of that text object, and a new context menu which contains a property called Expression.
- If you click the button of that property an Expression Editor will be opened. Put a proper formula as required.
- You can put the footer information in the Report Footer section.
- Design time data can be displayed by clicking Preview Button.
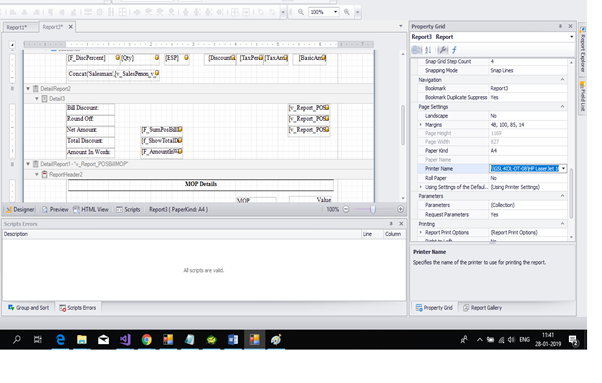
- You can change the aesthetic part of the report and different parts of report by setting different properties from the Property window.
- Page-setup , Paper-kind and printer related information can be given from the Report properties.
These are the basic steps to create a report using Xtrareport. After finishing the design we need to follow some more steps before allocation to sites.
Report Allocation and Assignment:
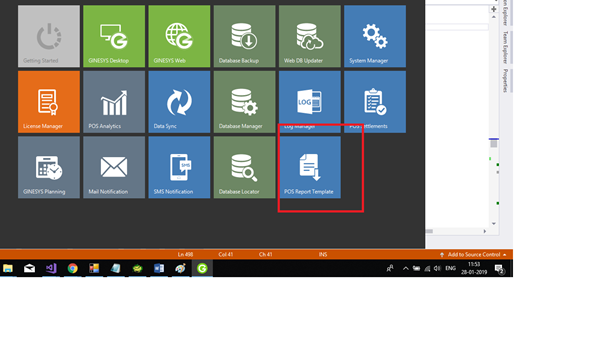
- Run Ginesys Report Template
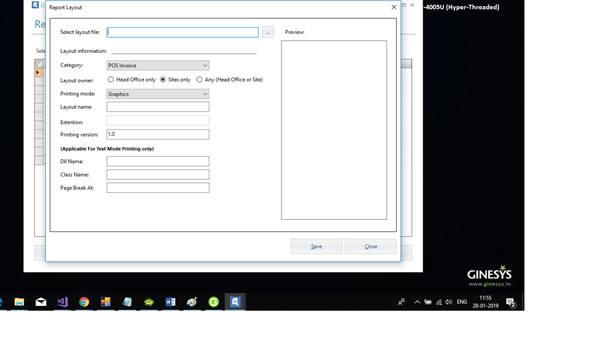
- Add or edit report layout that you have already created (.rpt/.repx).If you want to redesign your layout then export the layout from report layout list and design it again.
- Go to Ginesys Web and allocate the layout created through Report Layout window to stores.
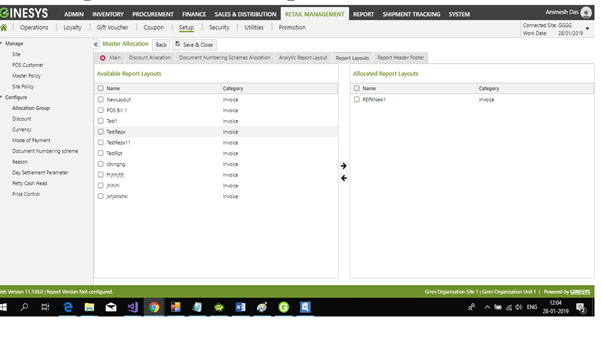
- This will be done by the master allocation process of allocation group displayed below -
- Go to Retail Management > Setup > Allocation Group - Report Layout (tab) and Add a new allocation or Edit an existing allocation by double-clicking it.
- Select the appropriate layout from the list of Available Report Layouts and click on the Right Arrow (→) to move it to Allocated Report Layouts.
- Save the record.
- Run the sync process at HO and POS.
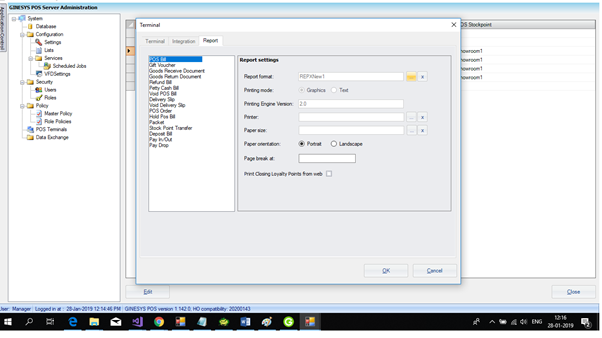
- In the POS > Administration module,
- Click on POS Terminals
- Assign the report-layout allocated to stores to a terminal by clicking on selected report layout in Report tab of Terminal window.
- Restart POS and print the allocated report from POS.
Related articles