Adding, Editing, Deleting & Releasing Miscellaneous Entries
Sometimes it may happen that the actual stock in warehouse is more or less than the inventory on-hand entered in the system. In such cases, it is important to correct this discrepancy, by adjusting the inventory on-hand quantity with actual quantity. This function is done through Miscellaneous Entries (Receipt or Issues).
Prerequisites
- The users' role must have access to the Add app operation in the Miscellaneous Entries feature in Inventory - Operations - Requisitions through Roles in Ginesys Web - Admin - Security to Add entries.
- The users' role must have access to the Edit app operation in the Miscellaneous Entries feature in Inventory - Operations - Requisitions through Roles in Ginesys Web - Admin - Security to Edit entries.
- The users' role must have access to the Delete app operation in the Miscellaneous Entries feature in Inventory - Operations - Requisitions through Roles in Ginesys Web - Admin - Security to Delete entries.
- The users' role must have access to the Release app operation in the Miscellaneous Entries feature in Inventory - Operations - Requisitions through Roles in Ginesys Web - Admin - Security to Release / Post entries.
- The users' profile must have the Miscellaneous Entry Operation Mode marked as Issue, Receipt or Both (Issue and Receipt).
- The user must also have sites allocated to him.
- The Inventory Month must be open for the entry date.
- The Document Numbering Scheme must be created and tagged for Miscellaneous Entry.
- The Items must be created in the Item Master.
- The Item Groups must be defined.
- The Articles, if in use, must be defined.
- The Stock Points must be created in the Stock Point Master.
Step-by-step guide
Follow the given steps to create Miscellaneous Entries -
- Go to Inventory > Operations > Requisitions > Miscellaneous Entries.
- Then click on Add. The Add Miscellaneous Entry window opens.
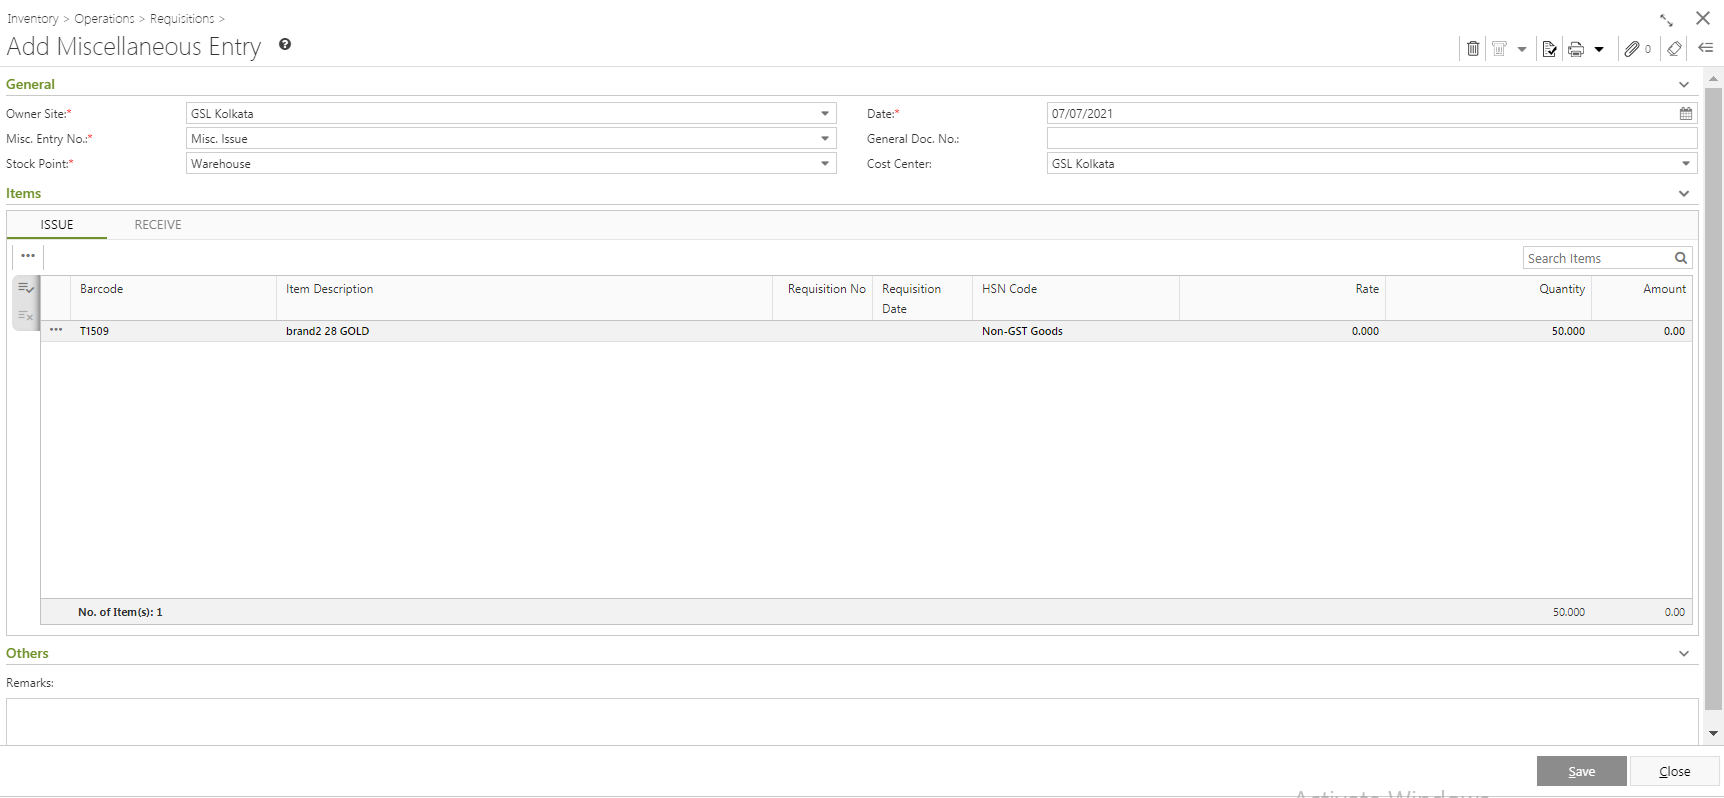
The connected site is auto-populated as the Owner Site and the System Date is populated as the Date.
Types of Owner Sites
All types of sites can have Miscellaneous Entry made against them except for un-managed-customer owned-outright sites.
Availability of Un-Managed site as Owner site is now dependent on User Site Allocation from Admin > Security > User > Users.
Authorized Entries from Managed Sites cannot be deleted.
Now the Misc. Entry No. (Document Numbering Scheme for Miscellaneous Entry) has to be selected from the drop-down.
- General Doc. No. is actually any reference document number the user may need to record. It is an optional field.
Miscellaneous issue is a way to adjust the physically lost items with their records in the system.
Cost Center records the location of the untraceable items. It is an optional field.
Important
Note: If any Managed / Unmanaged Site is selected as the Owner Site, it is also automatically populated as the Cost Center, the selected Cost Centre cannot be updated in edit mode.
The Stock Point is a mandatory field and must be selected from the drop-down which displays only stock points assigned to the Owner Site.
Note: Depending upon types of sites the selection lists would vary -
Organization site - List will display values from Stock Point master for the selected Owner site.
Managed site - List will display values from Stock Point created at stores.
Unmanaged site - Value is auto-populated as "Store" and it cannot be modified.
The item display grid of the Issue tab, has four (4) options for item selection - Scan Item, Select Item, Import barcode and Requisition Entry.
Important information regarding item selection from Requisition Entry
- Items from multiple Requisition Entries can now be selected for Miscellaneous Issues (partial or in full).
- Both adhoc items and items against requisition can be selected in the same Miscellaneous Issues. However, in Miscellaneous Receive only adhoc items can be selected.
- Item Rate can now be displayed and edited in both Issue and Receive tab.
- Negative stock check will be applicable to the summed quantity of both issue and receive tabs, only if the issued quantity is greater than the receipt.
- Items from multiple Requisition Entries can now be selected for Miscellaneous Issues (partial or in full).
- The item display grid of the Receive tab, has three (3) options for item selection - Scan Item, Select Item, and Import barcode.
- Once the items are populated, the Quantity has to be provided.
- The Rate is picked automatically by calculating the Last-in Rate -
Last-In Rate
Last-In Rate is the most recent purchase price for the item. At any point of time, whenever any of the following entries happens this will be captured in a separate table for each item and site. For same site and item, only one rate will be available at one point of time as each record updates the previous one.
The following entries allow to capture Last-In Rate of an item -- Opening Stock
- Goods Receive
- Conversion - Bundle/Split/Production
- Production Receipts (PC)
- Miscellaneous Receipt
- Opening Stock
Any required Remarks must be put in the Others section.
- Related Documents (like GRC, Purchase Invoice, Sales Invoice or Transfer Orders etc.) may be attached to the Miscellaneous Entries. Users can attach any reference documents to the Miscellaneous Entries. Document Attachment is disabled for authorized Miscellaneous Entries.
- Then the Save button must be clicked.
About Clear Form
The Clear Form feature is only available in the Add mode. On clearing a form, the default form settings of the user is displayed. The system date is used as the Entry Date, while the logged in user's default site is populated as the Owner Site
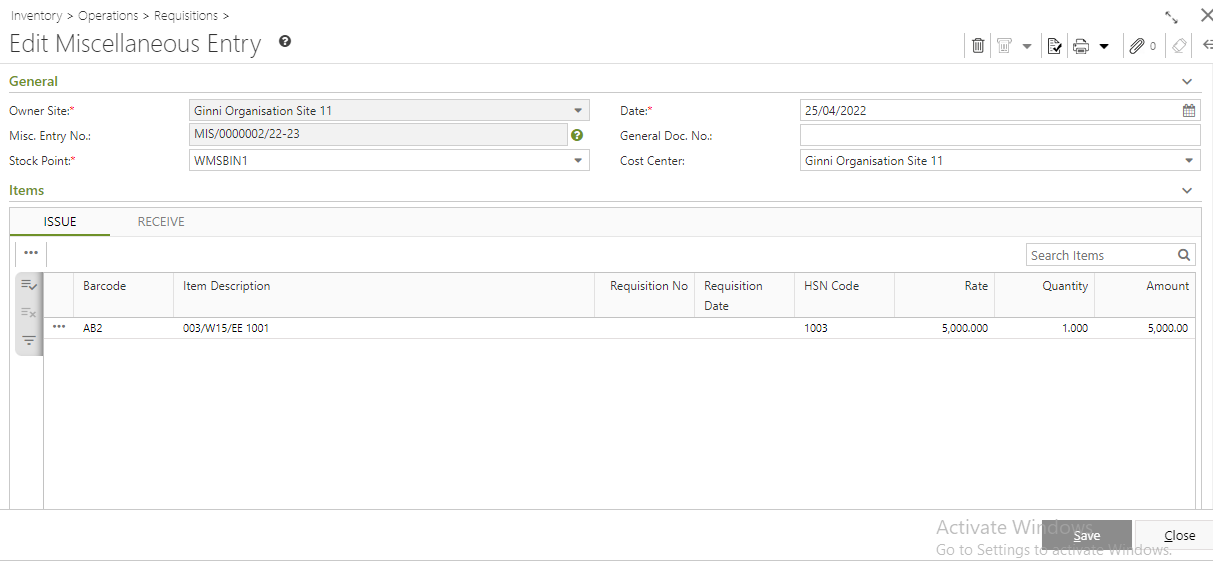
A Miscellaneous Entry may be edited following the given rules -
- Owner Site cannot be edited.
- The document numbering scheme cannot be edited.
- A Miscellaneous Entry which has already been posted for Managed Site cannot be modified.
The Document Date may be edited -
The date of Miscellaneous Entries can be modified within the following conditions:
- The modified date cannot be ahead of the current system date, i.e. it cannot be a date in the future. If the system date is 26 June 2018, a miscellaneous entry 27 June 2018 onward is not allowed.
- The Inventory month for the modified date must be open.
- The modified date has to be within Lock days of the user as defined in the User master.
- If the Miscellaneous entry has been created against a Requisition Entry, then the date of Miscellaneous Entry is not modifiable.
- The modified date cannot be ahead of the current system date, i.e. it cannot be a date in the future. If the system date is 26 June 2018, a miscellaneous entry 27 June 2018 onward is not allowed.
- The stock point can be edited.
- All items can be edited.
Quantity of items can be altered, but a negative check has been implemented. The Negative Stock check alert is activated only when the stock in hand is less than the Issue Quantity. When stock-in-hand quantity is insufficient, the Negative Stock check alert will also be activated if the Receive Quantity of a Miscellaneous Entry is deleted or any modification of values of Receive Quantity or Issue Quantity, provided Issue Quantity - Receive Quantity > 0.
Application of Negative Stock Check
Negative Stock Check will be applied and based on what value is given for it in the Item definition / User Profile. Item definition for Negative Stock Check can be set to Profile, Warn, Ignore or Stop. User Profile for Negative Stock Check can be set to Warn, Ignore or Stop.
Important information
The priority of Item Definition logic is more than User Profile logic; in other words, if the value of Negative stock check is Stop in Item Definition, then for a negative stock of that particular item, the entry of the particular document will stop with proper message to user; even if Negative stock check value is Ignore in User Profile.
Suppose Negative stock check value for Item - A001 is set to Stop in Item Definition and Negative stock check value is Ignore in User Profile of the user. Then if A001 goes into negative stock, the user will find that the entry of the particular document will stop with a negative stock warning.
Setting
Effect
Ignore
User will not know if stock goes to negative
Warn
User will get a warning and may choose to ignore or cancel.
Stop
User will not be able to proceed.
To illustrate,- Stock-in-hand – 10
- Issued quantity – 25
- Received quantity – 12
- Negative Stock check is set to Warn in both User Profile and Item Definition.
- Stock-in-hand – 10
| Scenario (Basic rule : Issue value - Receive value > 0) | Result | Action |
|---|---|---|
| The Current Stock (Stock-in-hand + Received quantity = 10 + 12 = 22) < the Issued Quantity (25) | User gets a warning about negative stock of the item. | User selects to ignore and saves the document. |
| The Current Stock (Stock-in-hand + Received quantity = 10 + 10 = 20) < the Issued Quantity (25) {Received Quantity has been deleted} | Again the Negative stock check will be re-activated and user will receive warning. | User selects to ignore and saves the document. |
| The Current Stock (Stock-in-hand + Received quantity = 10 + 12 = 22) < the Issued Quantity (27) {Issued Quantity has been increased} | Again the Negative stock check will be re-activated and user will receive warning. | User selects to ignore and saves the document. |
There are two ways a user may delete Miscellaneous Entries
- Individual Delete
Open the document to be deleted and then click on the Delete symbol.
- Collective Delete
From the list view, select one or more Miscellaneous Entry Documents and select Delete from the Action menu.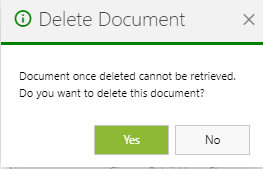
In both cases, the system will ask for confirmation as documents once deleted cannot be retrieved.
There are two ways a user may Release or Post a Miscellaneous Entries
- Individual Release or Post
Open the document to be Released and then click on the Post symbol.
- Collective Release or Post
From the list view, select one or more Miscellaneous Entry Documents and select Release from the Action menu.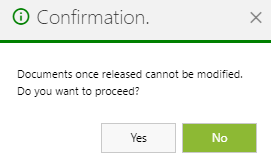
In both cases, the system will ask for confirmation as documents once released or posted cannot be modified.
To go back to the main page click on Managing Operation - Inventory in Ginesys Web
Related articles