Adding, Editing, Deleting, Releasing & Printing Split in Ginesys Web
The Split offers the facility of creating a new item by changing some of the properties of an existing item. A new item with a new barcode and a new RSP (Retail Sale Price) gets created from the existing item. Sometimes demand of particular items decreases due to high price, less requirement etc. In this situation the Split module works to regenerate an item into another item with new barcode and new property.
This article describes how to manage Split in Inventory of Ginesys Web.
Prerequisites
- The users' role must have access to the Add app operation in the Split feature in Inventory - Operation - Convention through Roles in Ginesys Web - Admin - Security.
- Process master must be present.
- Stock Point must be present.
Step-by-step guide
The process is divided into the following steps:
- Go to Inventory > Conversion > Split.
- Split module will open.
- List of previously created Split will open.
- Click on the Add button.
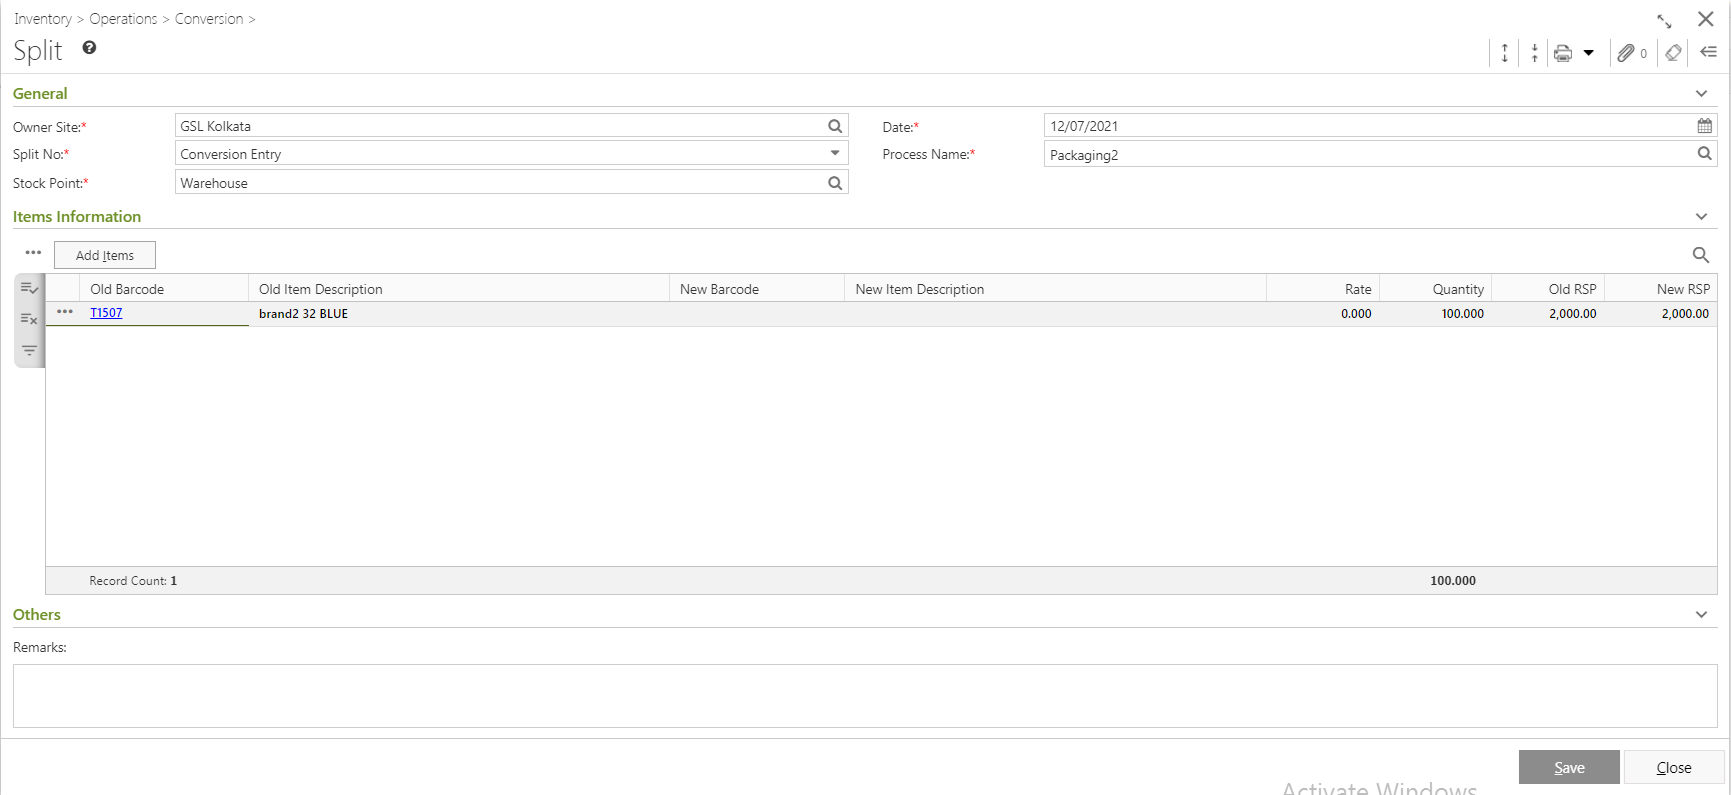
- The Split window will open.
- You will get a group of icons at the top right corner of the window.

- Expand All, Collapse All, Delete, Print Document Report, Attachments, Clear Form and Open Side Panel.
Expand All: Clicking on this icon, all the sections will be Expand if they are collapsed.
Collapse All: Clicking on this icon, all the sections will be Closed if they are expanded.
- Print Document Report: Clicking on the Down Arrow beside this icon, you will get Print Preference option with already created Report File Template. This option is used to print document.
- Attachments: You can Upload some required documents from this option.
- Clear Form: Clicking on this icon, you can Clear all the data already entered.
- Open Side Panel: Clicking on this, you will get the details of the current Split as follows:
- Document Summary: In this section you will get the details of Total Item Count, New Item Count, Old Item Count etc.
- Expand All, Collapse All, Delete, Print Document Report, Attachments, Clear Form and Open Side Panel.
- You will get four sections in the Split main form - General, Item Information, User Defined Fields and Others.
- General:
- Select the Owner Site (Mandatory Field) for which you want to create the Split.
- Select a Split No. (Mandatory Field, basically the document numbering scheme) from the drop down list.
- Select the Stock Point (Mandatory Field) from the lookup window.
- Select the Process Name (Mandatory Field) from the lookup window.
- System Date will be populated in the Date field (Mandatory Field).
- Item Information:
- You will get Add Item option.
- Click on the Add Item button.
- Add Items window will open.
- You will get three options to add items - Select Item, Scan Item and Import Barcode. Select item through any one of the option.
- The item will be populated with Barcode, Item Description, Quantity, Old RSP etc. You can put the New RSP. You can click on the Populate New RSP as Old RSP, then Old RSP will be populated in the New RSP.
Click on the Populate button.
- The Item(s) will be populated in the Item Information of the main window Barcode, Item Description, Quantity, Old RSP etc.
- If you click on the
 button left side of the populated item, you will get a drop down list.
 - requirement.
- New Barcode and New Item Description will be generated at the time of saving.
- Others:
- You can put in the remarks for the Service Invoice from the Remark field under Others fields.
- You can put in the remarks for the Service Invoice from the Remark field under Others fields.
- Now click on the Save button.
- You will get a confirmation message - "Record created successfully. Document No <Document No>".
Prerequisites
- The users' role must have access to the Edit app operation in the Split feature in Inventory - Operation - Convention through Roles in Ginesys Web - Admin - Security.
- Split must be created.
Step-by-step guide
The steps are as follows:
- Go to Inventory > Conversion > Split.
- Split module will open.
- Previously created Splits will be listed.
- Select the Split you want to edit.
You can use Filter to search particular Split.
Note: If you select multiple Split, you will get the Edit option disabled. You cannot edit multiple Split at a time.
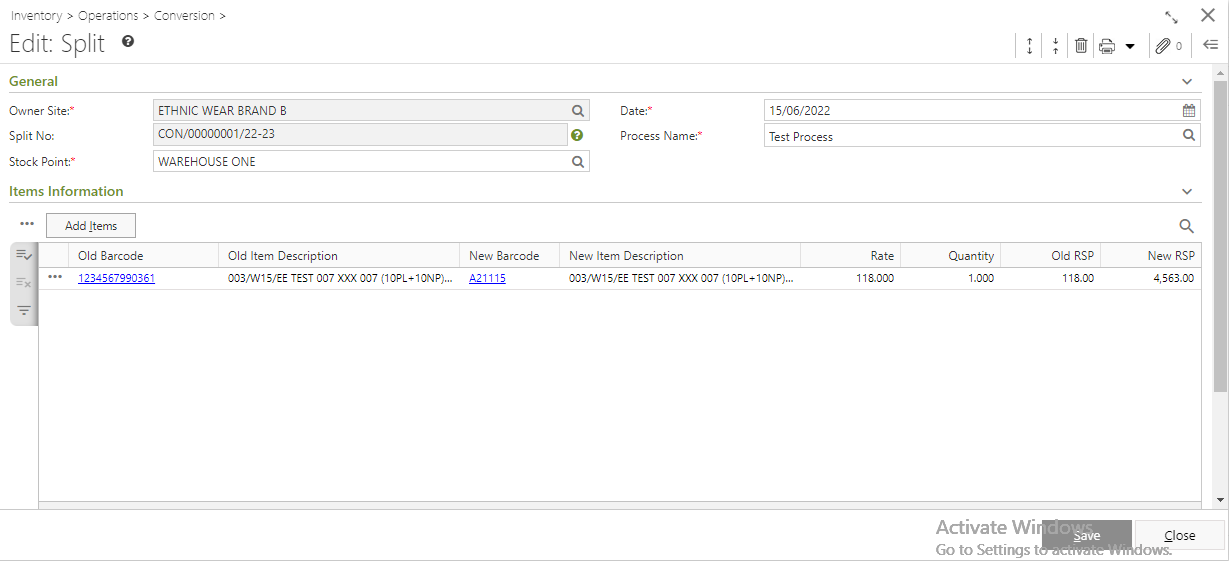
- Edit: Split window will open.
- All the details will be populated.
- You can modify Process Name and Jobber Name.
- You can add or remove item(s).
- Click on the Save button to save the modified Split.
- You will get a message - "Record modified successfully. Document No <Document No>".
Prerequisites
- The users' role must have access to the Delete app operation in the Split feature in Inventory - Operation - Convention through Roles in Ginesys Web - Admin - Security.
- Split must be created.
- Split must be Un-Posted.
Step-by-step guide
The steps are as follows:
- Go to Inventory > Conversion > Split.
- Split module will open.
- Previously created Splits will be listed.
- Select the Split you want to delete.
- You can use Filter to search particular Split.
- Go to Action > Delete.
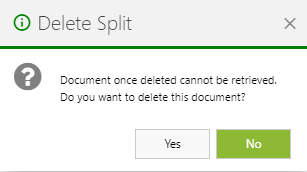
- You will get a message - "Document once deleted cannot be retrieved. Do you want to delete this document?"
- If you click on Yes, you will get a confirmation message "<Split No:> - Successfully deleted".
Prerequisites
- The users' role must have access to the Release app operation in the Split feature in Inventory - Operation - Convention through Roles in Ginesys Web - Admin - Security.
- Split must be created.
- Split must be Un-Posted.
Step-by-step guide
The steps are as follows:
- Go to Inventory > Conversion > Split.
- Split module will open.
- Previously created Splits will be listed.
- Select the Split you want to release.
- You can use Filter to search particular Split.
- Go to Action > Release.
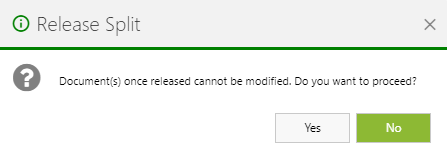
- You will get a message - "Document(s) once released cannot be modified. Do you want to proceed?"
- If you click on Yes, you will get a confirmation message "<Split No:> - Successfully released".