Creating, Editing, Deleting & Printing Planning Master in Ginesys Web
Planning is deciding about the processes necessary to reach a desired end by composing and maintaining of a program. Production planning is the planning for manufacturing activities in a company or industry, using the allocation of resources like man-power (employees), materials and production capability, to serve different clients.
Creating the Planning Master happens when the production is planned at multi-site level, particularly useful for business organizations that are running GINESYS software in multiple sites. In Planning Master module, the plans are created to manufacture assembly items. The Planning Master is in the highest level of the hierarchy table for Production module , although it is not mandatory to use it every time. This article describes how to manage the Planning Master in Ginesys HO.
WHY USE THE PLANNING MASTER?
Let us take an example that will help to clarify the idea of Planning Master. Suppose ‘Easywear’ is a garment manufacturing company which deals in the manufacturing of all kinds of shirts. Now this organization is headquartered in Delhi and has its presence in Kolkata, Mumbai and Indore. Each of these sites has their own production unit. Now the management team is responsible for creating a production plan for each of these production units. Now using the Planning Master, the user can create the production plan for each of the above mentioned sites.
Prerequisites
- The users' role must have access to the Planning Master feature by enabling Add app operation for the feature in Admin - Security - User - Role through Production - Operation - Planning.
Step-by-step guide
The process is divided in the following steps:
- Go to Ginesys Web > Production > Operations > Planning > Planning Master.
- Master Plan module opens with list view.
- Click on Add button.
- Add Planning Master window opens.
. - You will get group of icons at the top right corner of the window.

- The icons name from left to right are - Expand All, Collapse All, Print Document Report, Attachments, Clear Form and Open Side Panel.
- Expand All: Clicking on this icon, all the sections will be Expand if they are collapsed.
- Collapse All: Clicking on this icon, all the sections will be Closed if they are expanded.
- Print Document Report: Clicking on the Down Arrow beside this icon, you will get Print Preference option with already created Report File Template. This option is used to print document.
- Attachments: You can Upload some required documents from this option.
- Clear Form: Clicking on this icon, you can Clear all the data already entered.
- Open Side Panel: Clicking on this, you will get the details of the current Planning Master.
- The icons name from left to right are - Expand All, Collapse All, Print Document Report, Attachments, Clear Form and Open Side Panel.
- You will get four sections - General, Item Details, Component Summary and Image
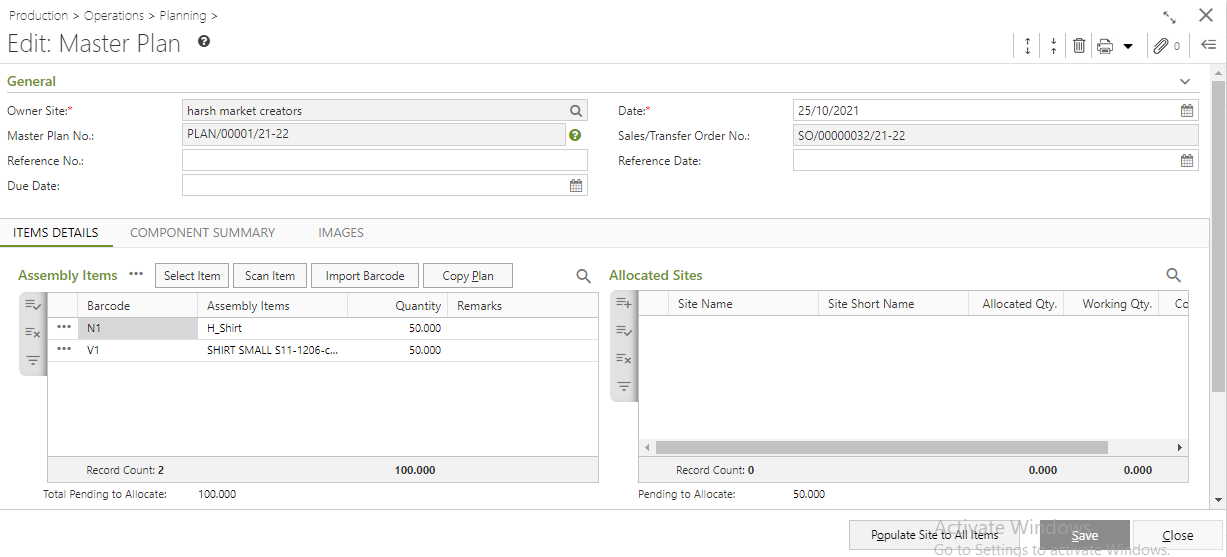
- General:

- Select the Owner Site (Mandatory Field) for which you want to create the Planning Master.
- Select a Master Plan No. (Mandatory Field) which is already created.
- System Date will be populated in the Date field (Mandatory Field).
- You can also put in Reference Date, Reference No. and Due Date etc.
- Item Details:
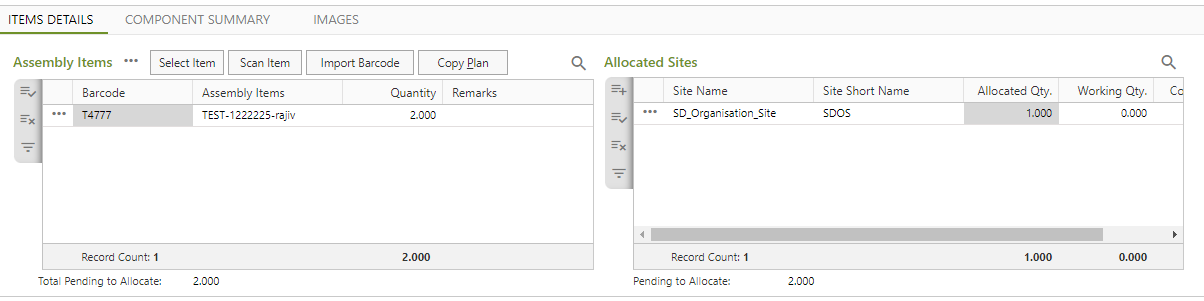
- You need to add items in the Assembly Items by using Select Item, Scan Item, Import Barcode and Copy Plan etc.
- Select Item: This process will search the items from the Item Master according to the search criteria.
- Scan Item: You can directly Scan the Barcode to add items.
- Import Barcode: The Import Barcode feature allows to populate items using the .csv or .txt files.
- Copy Plan: Only item details of existing challans can be copied and the items included to create new challans.
- After selection of items, click on Populate button.
- Click on the Add option of Allocated Site to select Site.
- If you select Populate Site to All Items, then all the items will be allocated to that particular site.
- You need to add items in the Assembly Items by using Select Item, Scan Item, Import Barcode and Copy Plan etc.
- Component Summary:

- In the Component Summary tab, the component item will be auto populated according to the BoM with Barcode, Component Item, UOM BoM Quantity etc.
- Image:
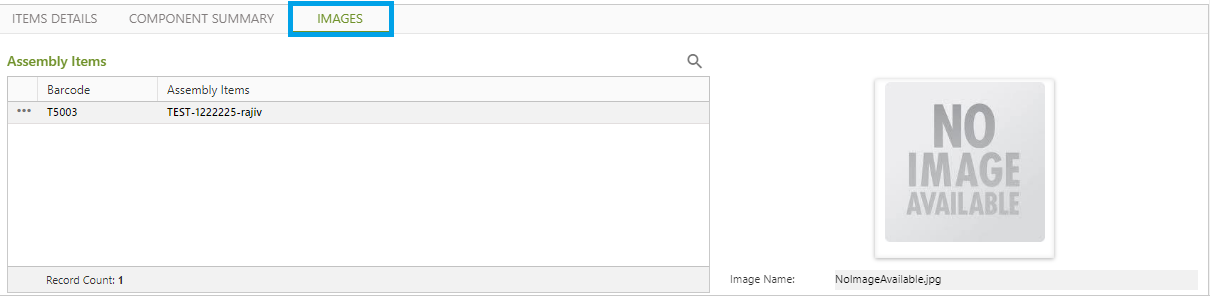
- The image of the selected item will be shown in the Image tab.
- Click on Save button to save the plan.
Prerequisites
- The users' role must have access to the Planning Master feature by enabling Edit app operation for the feature in Admin - Security - User - Role through .Production > Operations > Planning.
Step-by-step guide
The steps are as follows:
- Go to Ginesys Web > Production > Operations > Planning > Planning Master.
- Master Plan module will open.
- Previously created Planning Master will be listed.
- Select the Planning Master you want to edit.
You can use Filter to search particular Planning Master(s).
Note: If you select multiple Planning Master, you will get the Edit option disabled. You cannot edit multiple PI at a time.
- Edit: Planning Master window will open.
- All the details will be populated.
- Edit the required fields.
- You can modify Date, Reference Date, Reference No. and Due Date.
- You can also modify and delete Items.
- Click on the Save button to save the modified Planning Master.
- You will get a message - "Document <Master Plan No.> saved successfully."
Prerequisites
- The users' role must have access to the Planning Master feature by enabling Delete app operation for the feature in Admin - Security - User - Role through Production > Operations > Planning.
Step-by-step guide
The steps are as follows:
- Go to Ginesys Web > Production > Operations > Planning > Planning Master.
- Master Plan module will open.
- Previously created Planning Master will be listed.
- Select the Planning Master you want to edit.
- You can use Filter to search particular Planning Master(s).
- Go to Action > Delete.
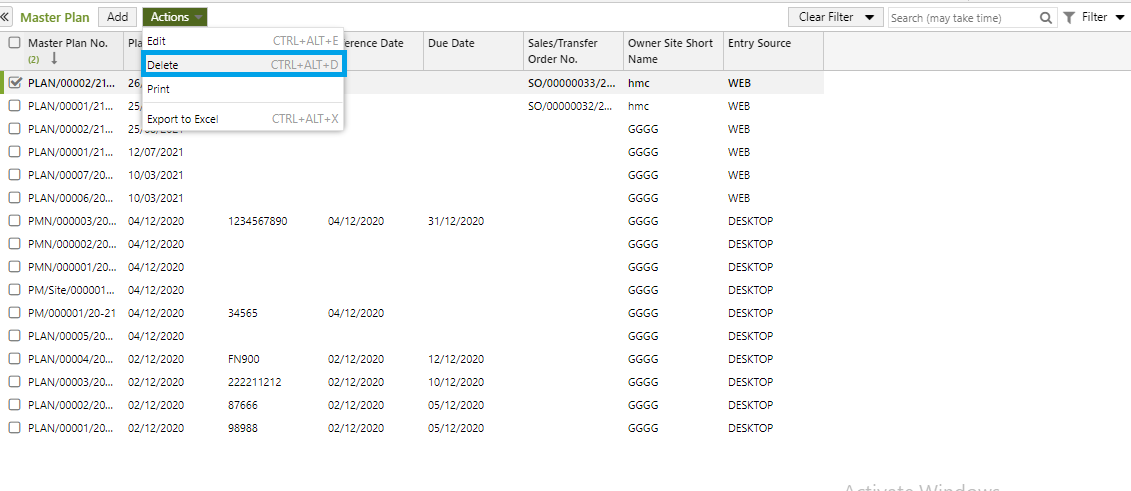
- You will get a message - "Document once deleted cannot be retrieved. Do you want to delete this document?"
- If you click on Yes, you will get a confirmation message "Plan No. <Master Plan No.> - Successfully deleted".
Prerequisites
- The users' role must have access to the Planning Master feature by enabling Print app operation for the feature in Admin - Security - User - Role through Production - Setup - Manage.
- Master Plan must be created.
- Printer must be connected to the device.
Step-by-step guide
The steps are as follows:
- Go to Ginesys Web > Production > Operations > Planning > Planning Master.
- Planning Master module will open.
- Previously created Planning Master will be listed.
- Select the Planning Master you want to edit.
- You can use Filter to search particular Planning Master(s).
- Go to Action > Print.
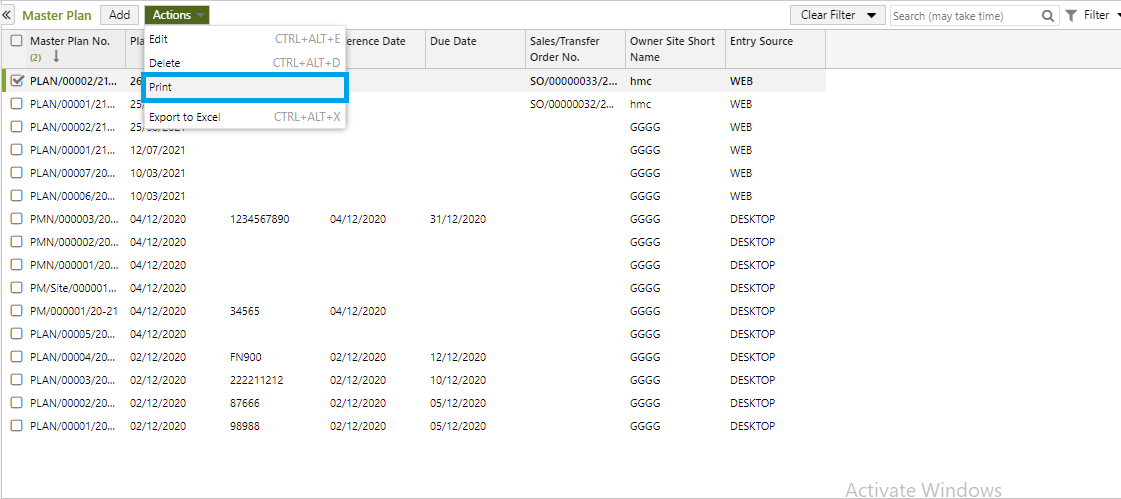
- You will get previously created template.
- Click on the required template to print.
- A new window will open.
Click on the Print to print the Planning Master.