How To: Implement and use XtraReports (REPX) for POS Bill printing
This article is an overall user help to implement and use the XtraReports (REPX) for the POS user for POS Bill as well as other transactions printing.
Instructions
Steps to follow for Ginesys Head Office and Ginesys POS version (11.147.0-1.147.0) update for XtraReports use
- Run your HO and POS AutoUpdater and select database updates to be applied till 11.147.0 (for HO) and 1.147.0 (for POS) or above (as necessary for you).
- As it is a Major release, you need to follow the Ginesys version update rule applicable for major release.
- Click Apply Selected Updates and your database patches will start getting applied.
- Let the Auto Update finish its Ginesys Application Update.
- If anywhere during the above steps you see an error that is not mentioned here please contact Ginesys Care.
How to - Create and distribute document report for Ginesys POS using Ginesys POS Report Designer
Steps to follow for Data source (.xml file) creation and collection for XtraReports layout design
- Go to POS Application folder location (e.g. C:\Program Files (x86)\GSL\GINESYS POS)
- Run 'ReportDesignHelper' executable and create the data source file.
- Select 'Create report data sources/ Test New (Print Engine 2.0) Reports' mode of 'ReportDesignHelper'
- Select the respective service say 'POS Invoice Report' service for creating POS Invoice data source creation
- Select required parameter as well value for populating sample data (User can select the parameter as bill Id. or Bill No. and input the respective value)
- Specify a valid POS login user id and password for secuirity establishment
- Fetch the data and can also view the same
- Publish the sample data
- Specify the Catalog name
- Specify the Catalog version
- Specify the location where the file will be published
- Collect the Published datasource and send to the Report Designer
Steps to follow for working with existing XtraReports layout (modify layout)
- Export the selected Layout from Giensys HO - POS Report Template - Export
- Go to Giensys HO - POS Report Template
- Select the Report layout of XTRA reports type from the grid
- Press 'Export'
- Collect the exported .repx file and use it at XTRA Reports Design tool.
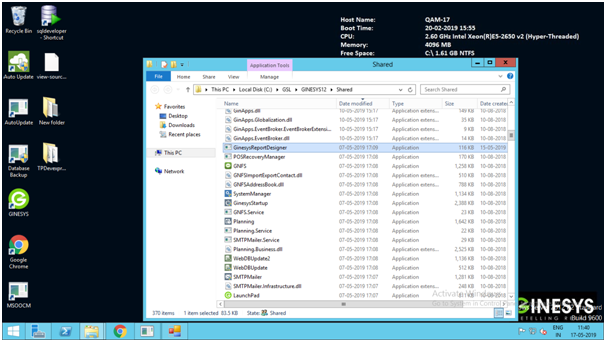
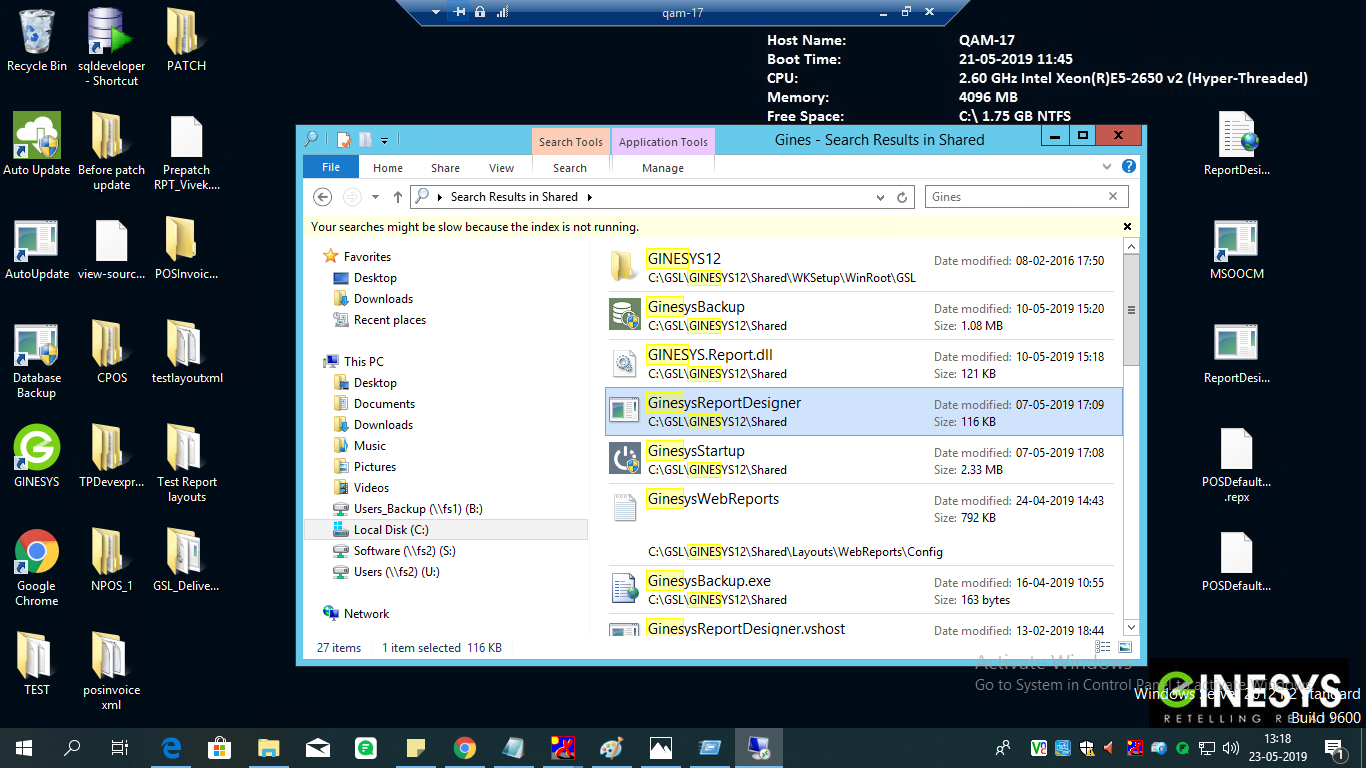
- Go to Ginesys HO application folder (C:\GSL\GINESYS12\Shared) and run 'Ginesys Report Designer' application
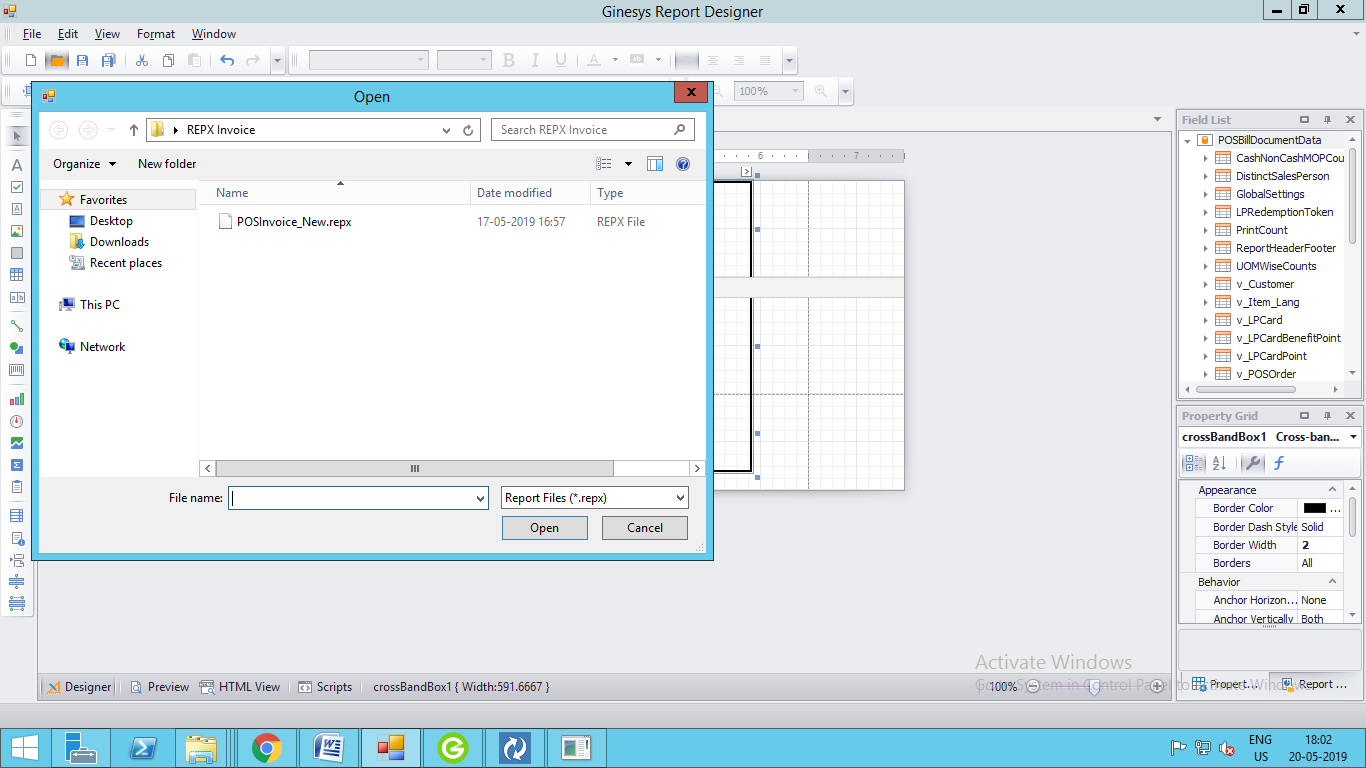
3. Go to File > Open and select the existing REPX file (Extracted earlier from Ginesys HO - POS Report Template)
4. See that the layout has been populated in the 'Designer' area.
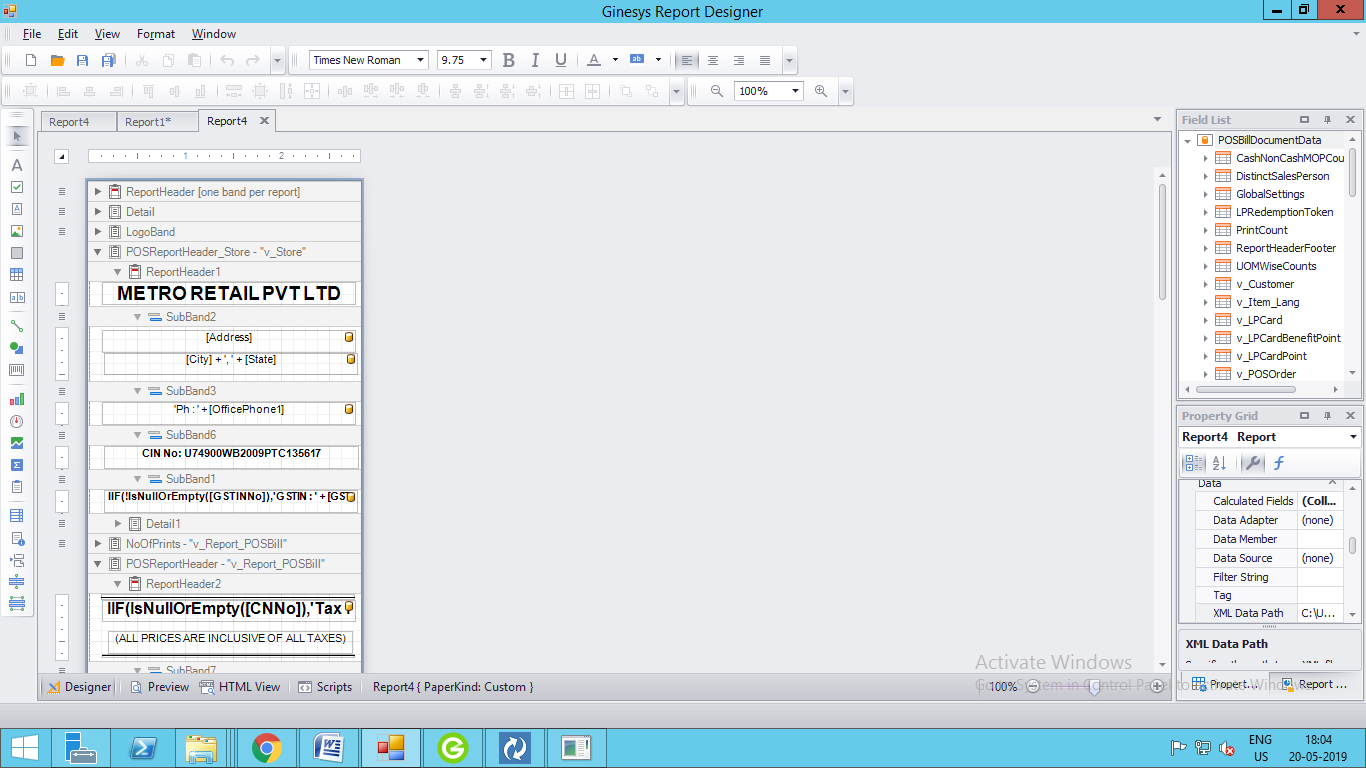
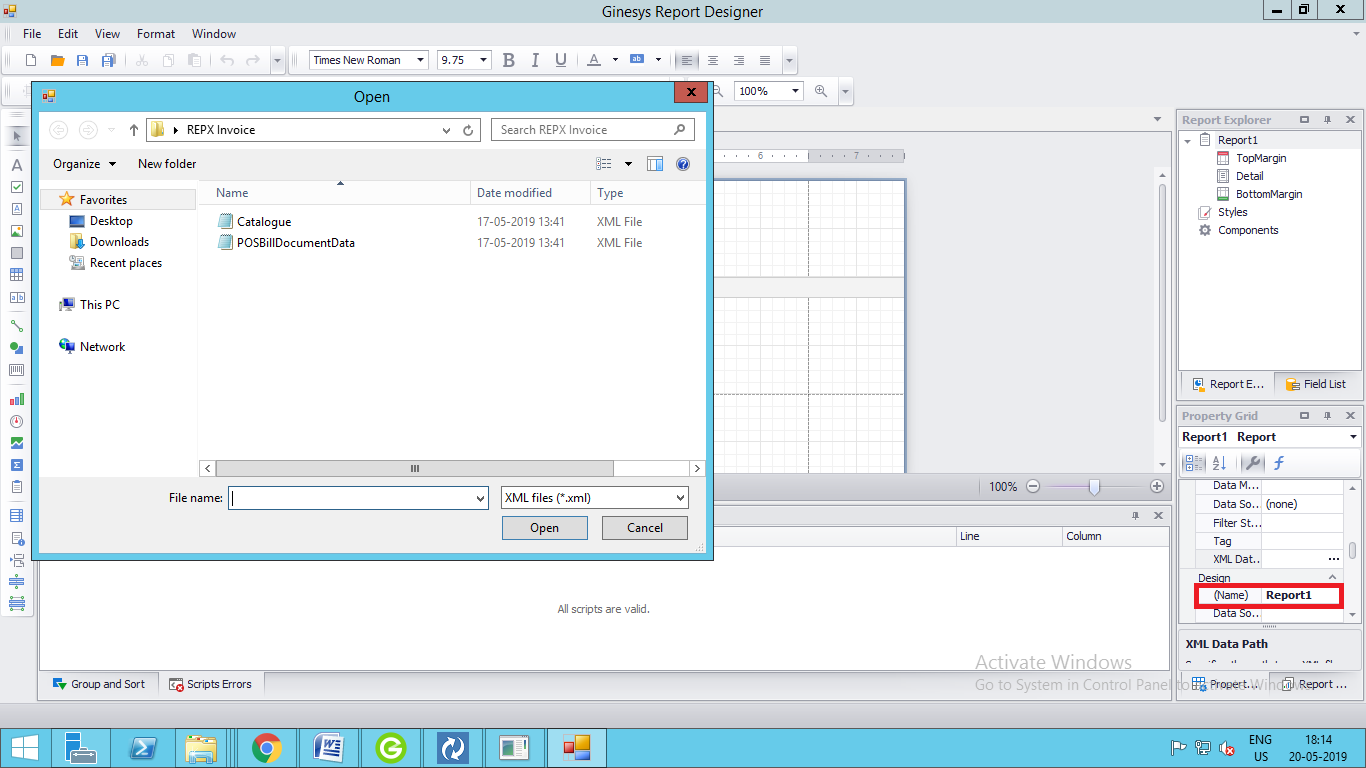
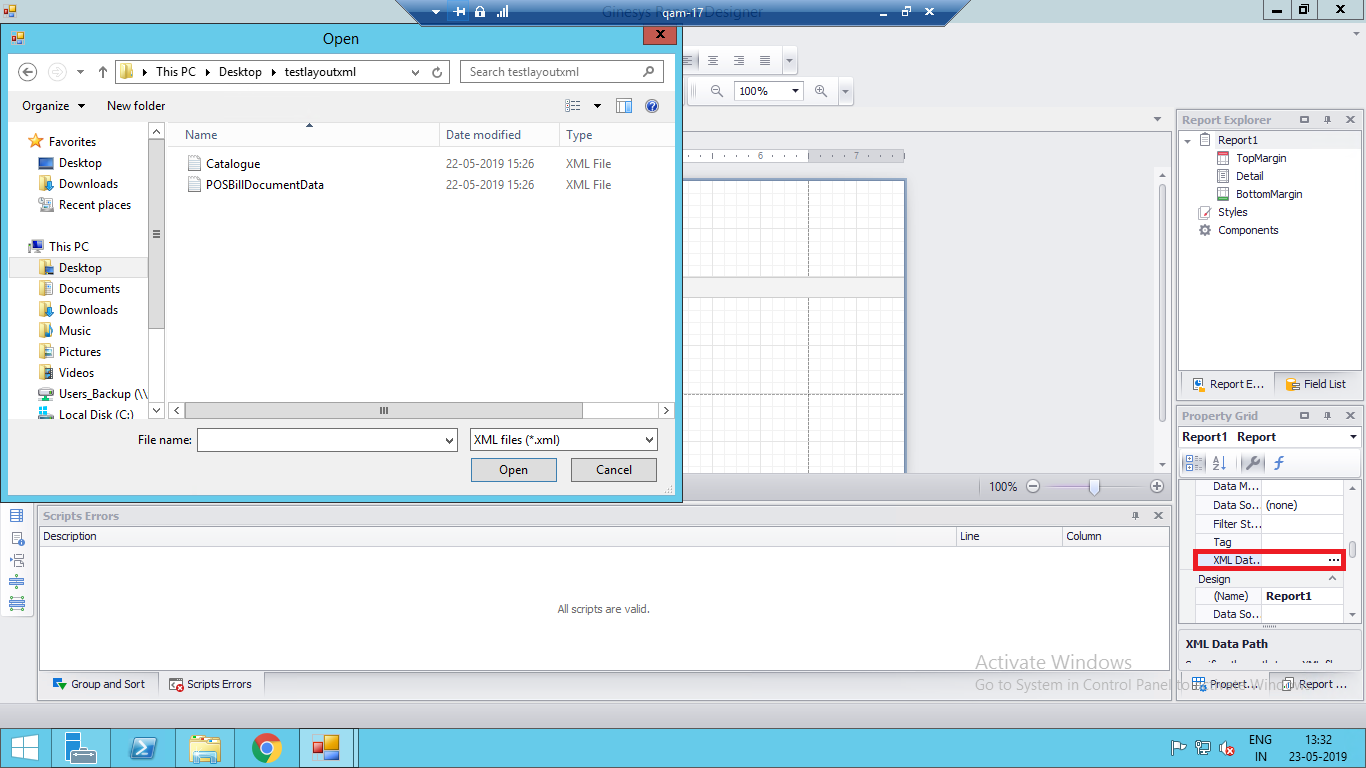
5. Go to Property Grid > Data > XML Data Path and select the data source (XML file) collected from the store.
6. Change the report layout as per requirement / change request with the help of below reference.
Reference: link to be added...
Steps to follow for Creating New XtraReports layout
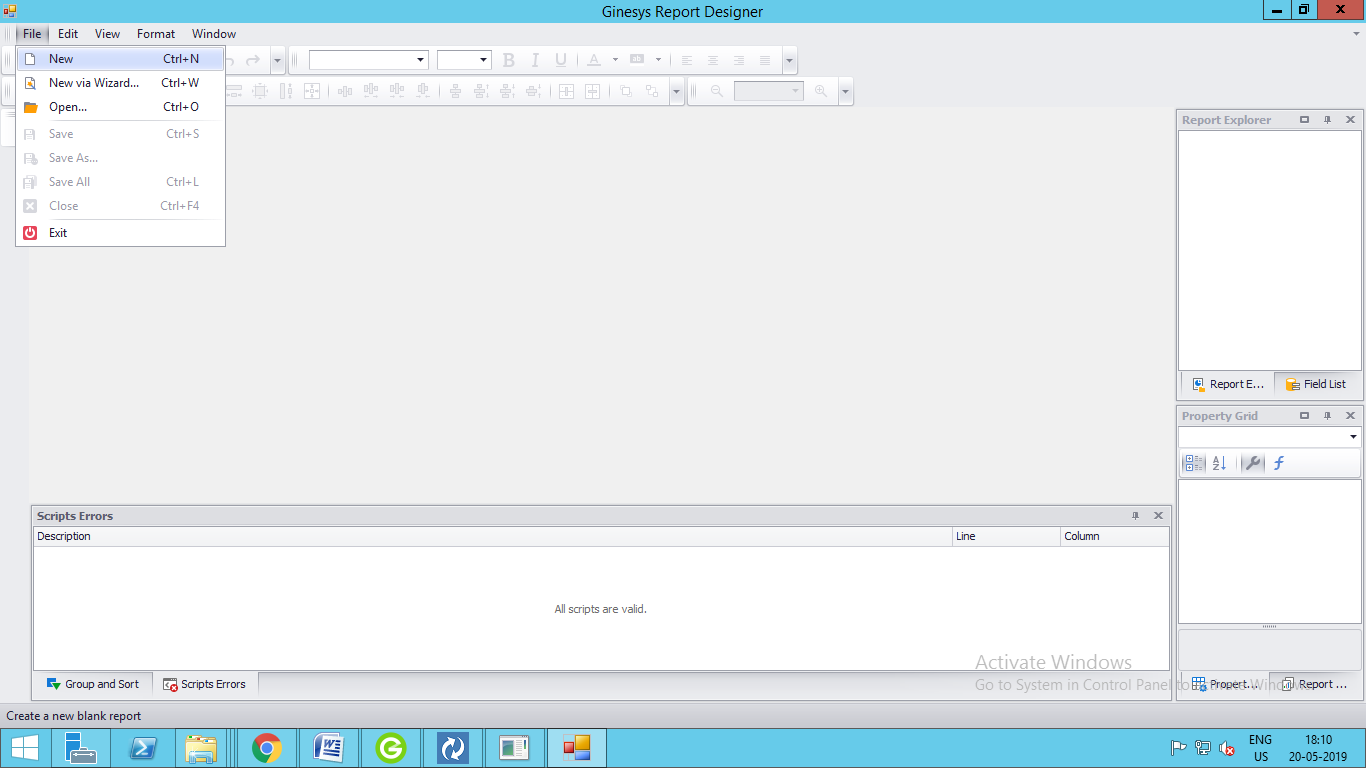
- Go to Ginesys HO application folder (C:\GSL\GINESYS12\Shared) and run 'Ginesys Report Designer' application
2. Go to File > New
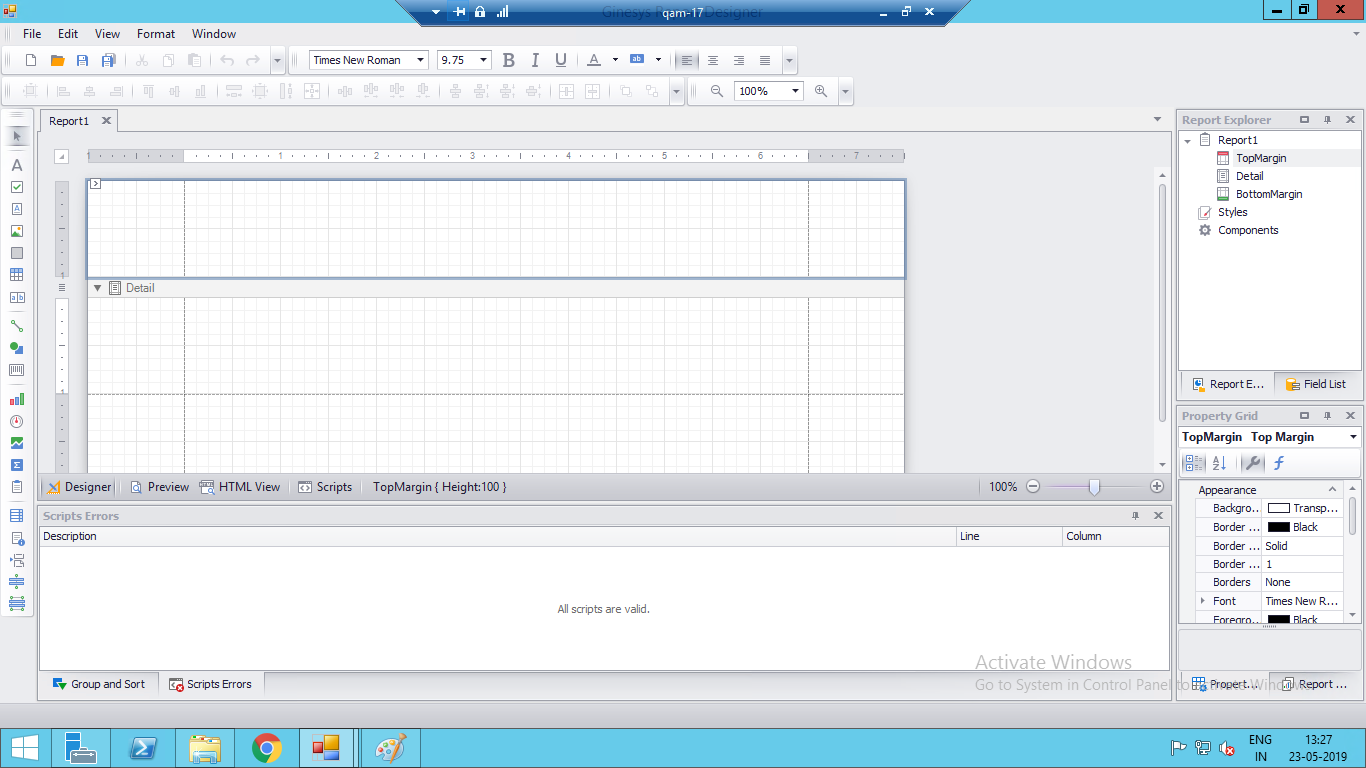
3. See that the blank 'Designer' area is opened.
4. Go to Property Grid > Data > XML Data Path and select the data source (XML file) collected from the store.
5. Design the report layout as per requirement/ change request.
Steps to follow for XtraReports (Import, Allocate and Upload in Terminal) use in Ginesys :
- Import the layout in Ginesys HO Application
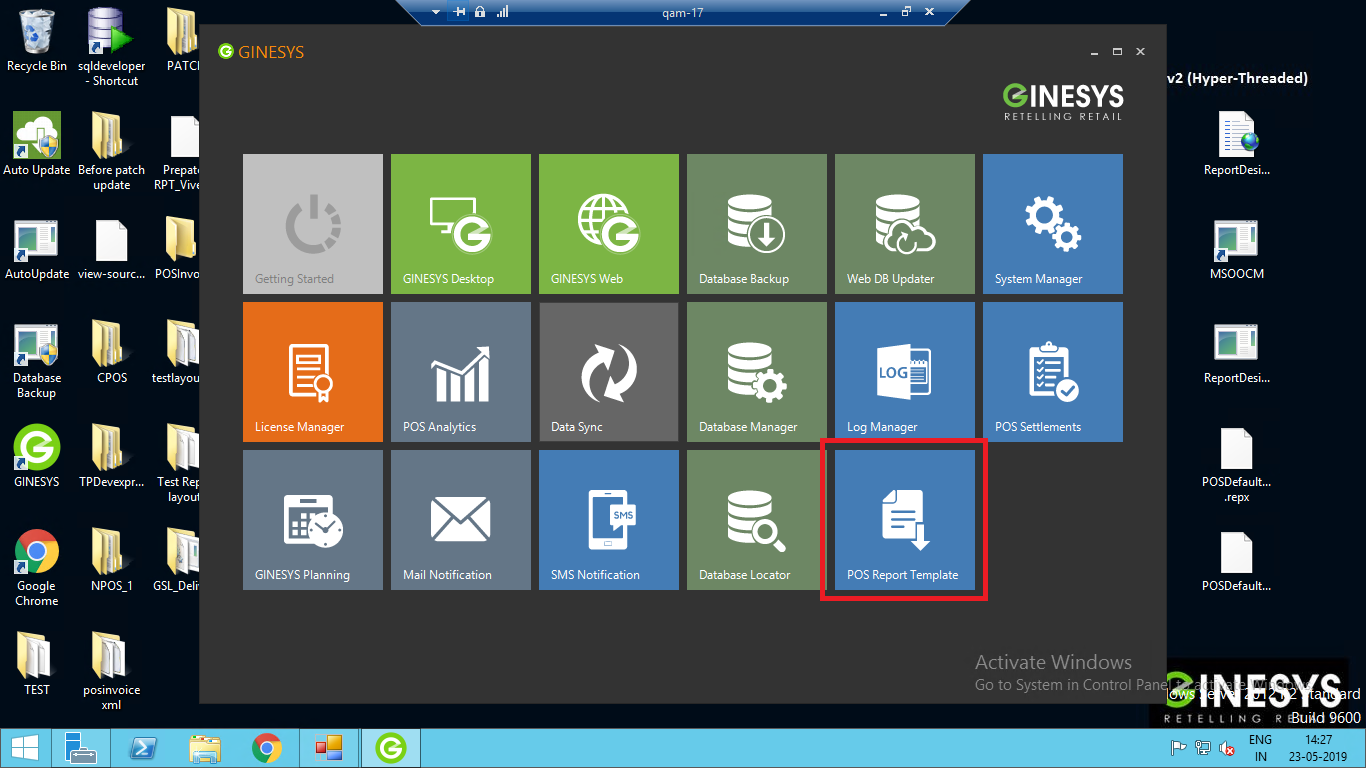
- Go to Ginesys (HO) Dashboard
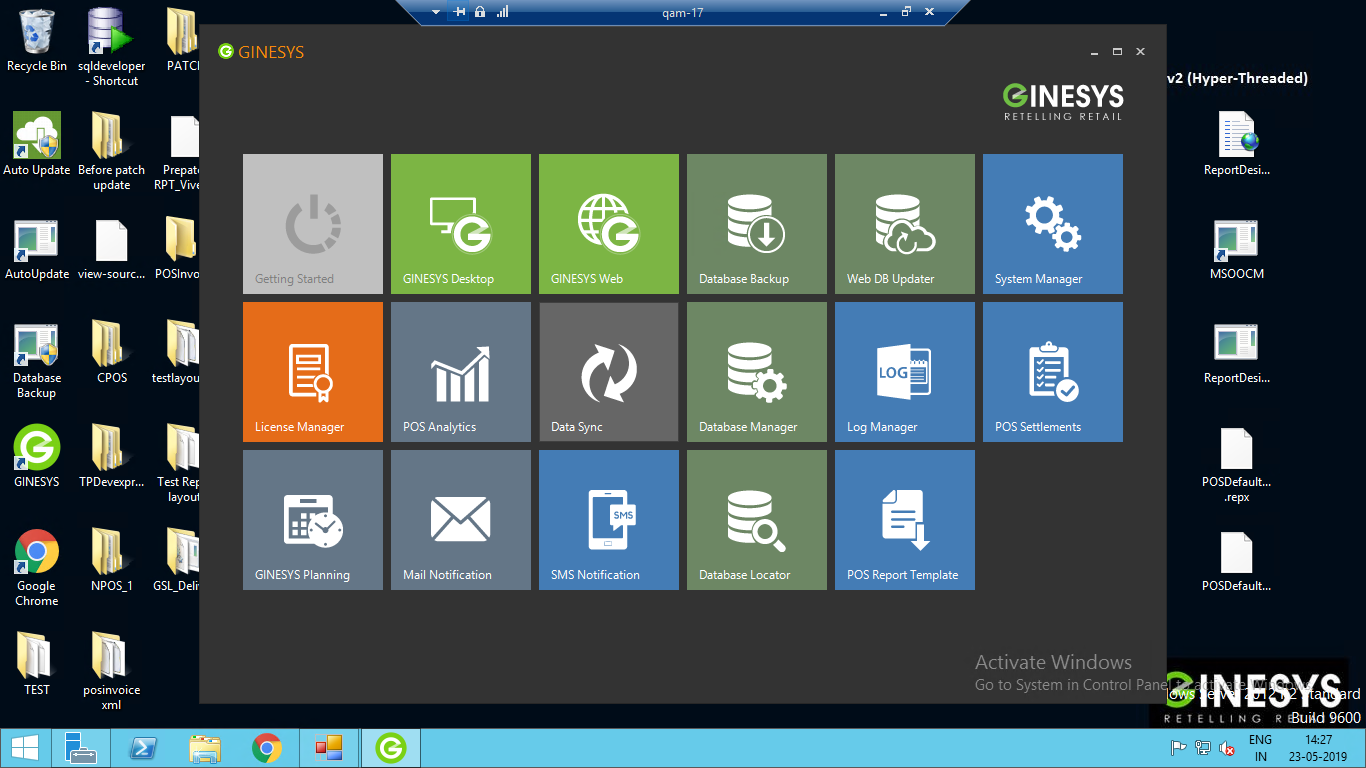
b .Click 'POS Report Template' tile.
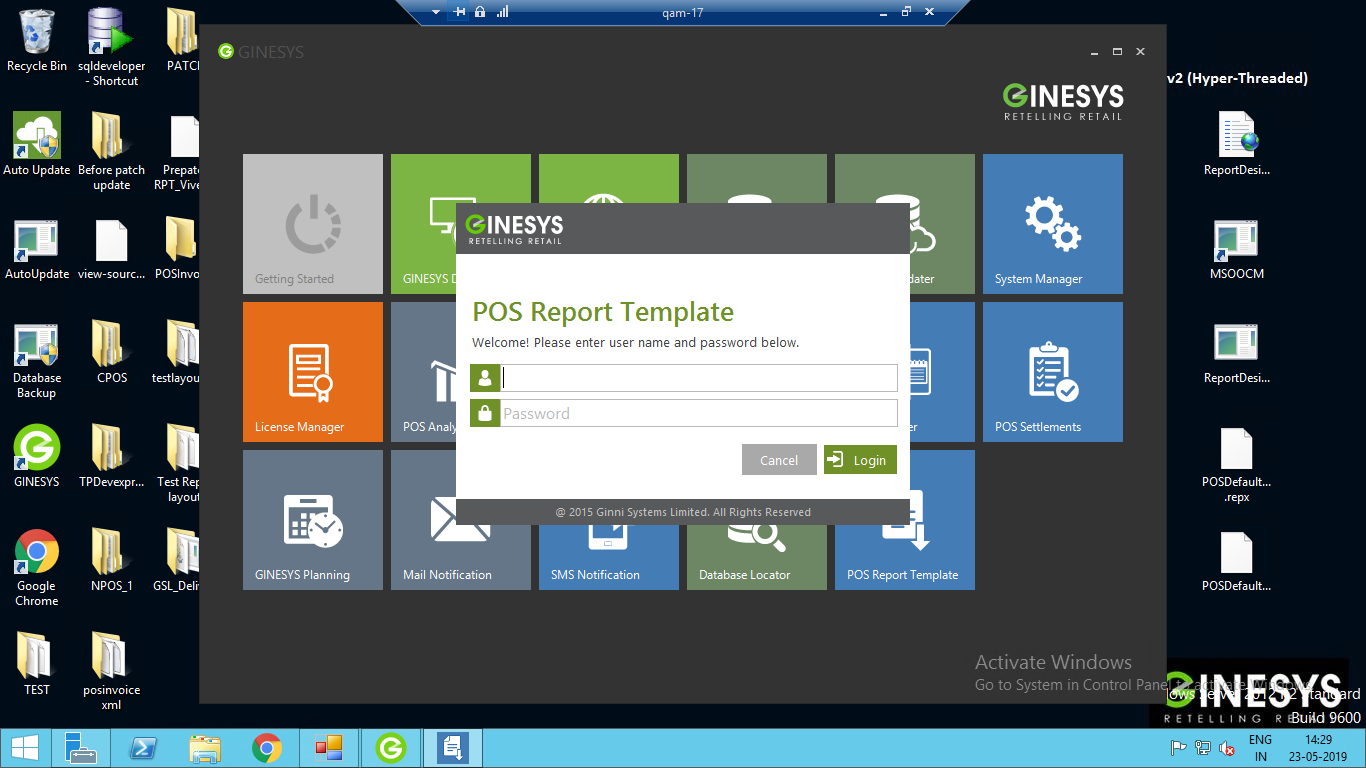
c. Login with proper credential.
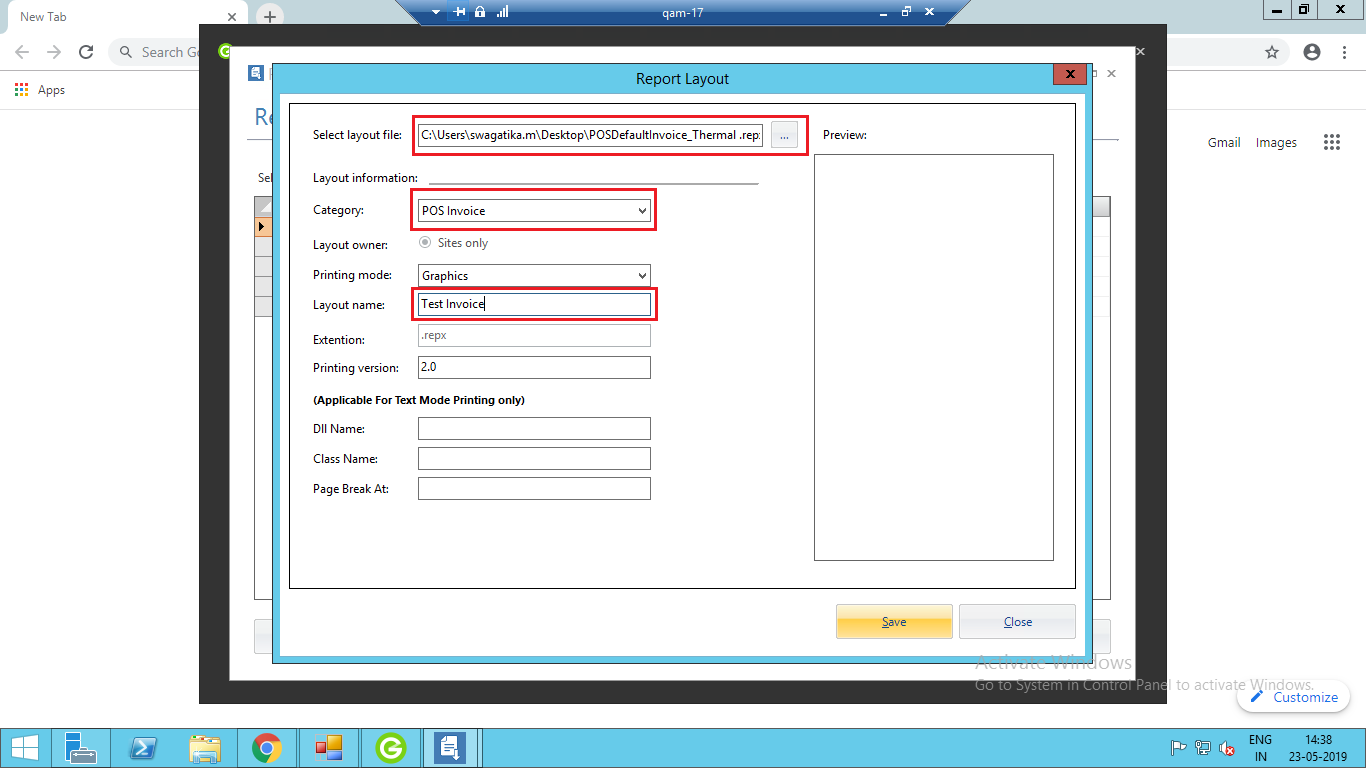
d. Select 'Add' option for new layout import.
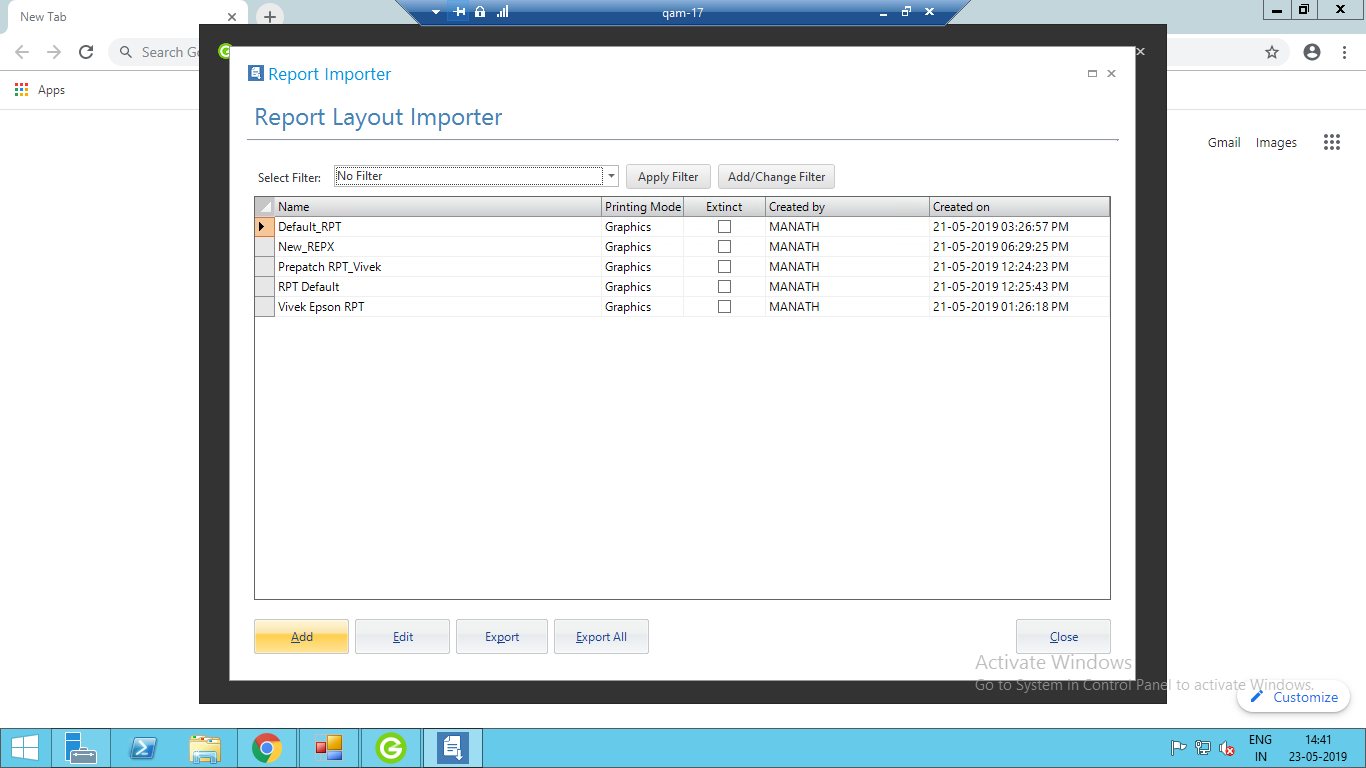
e. A report layout window will open and select the layout file, category , layout name and Save.
f. Select 'Edit' option for replacement of previously imported layout
g. A report layout window will open and select the layout file, category , layout name and Save.

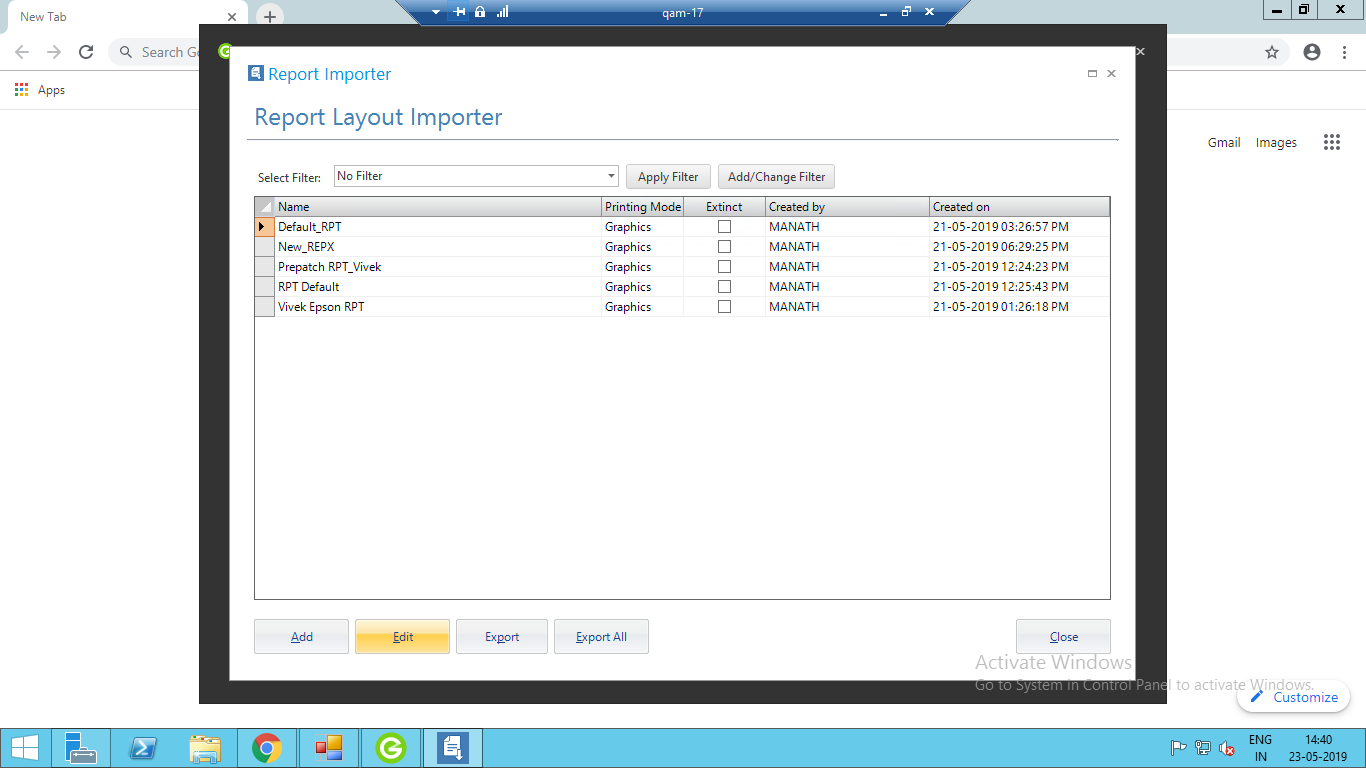
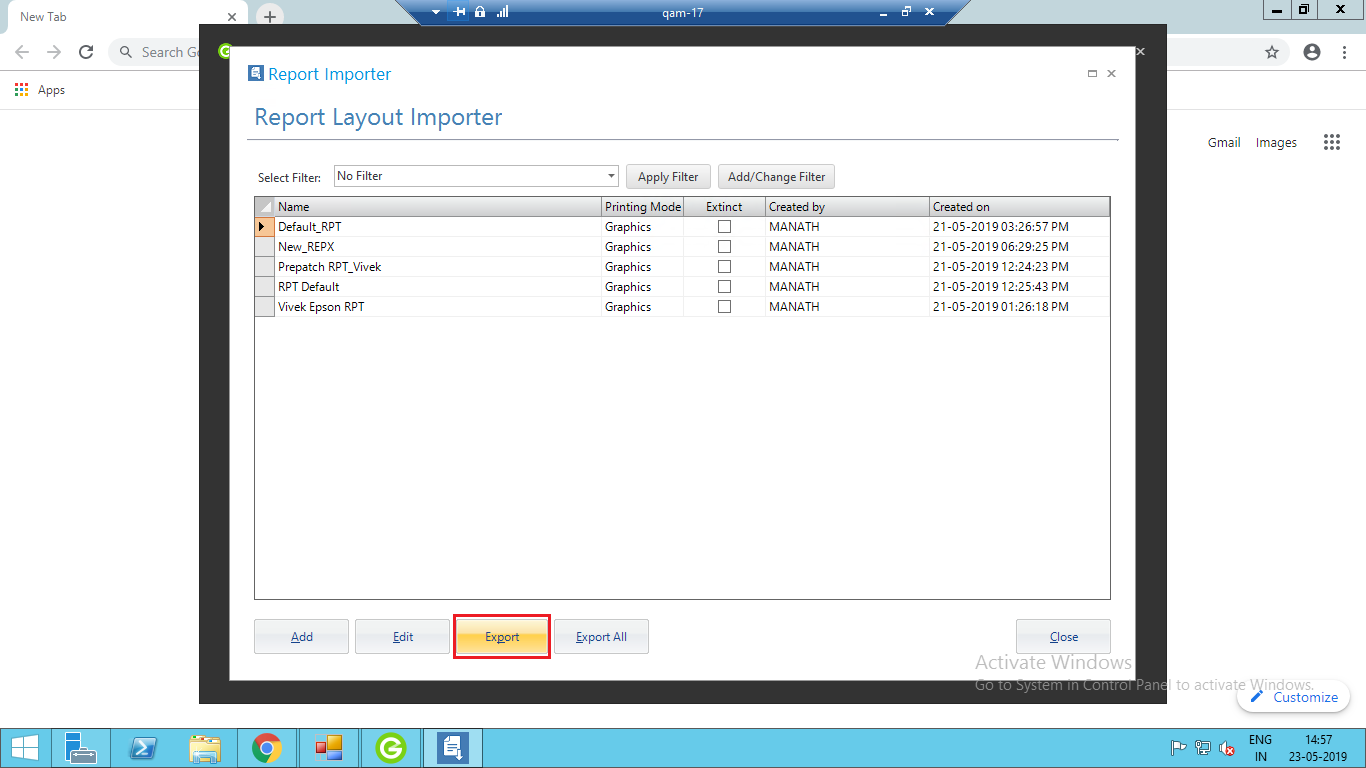
h. Select 'Export' to take an export of the selected layout.
i. Extract Report window opens.
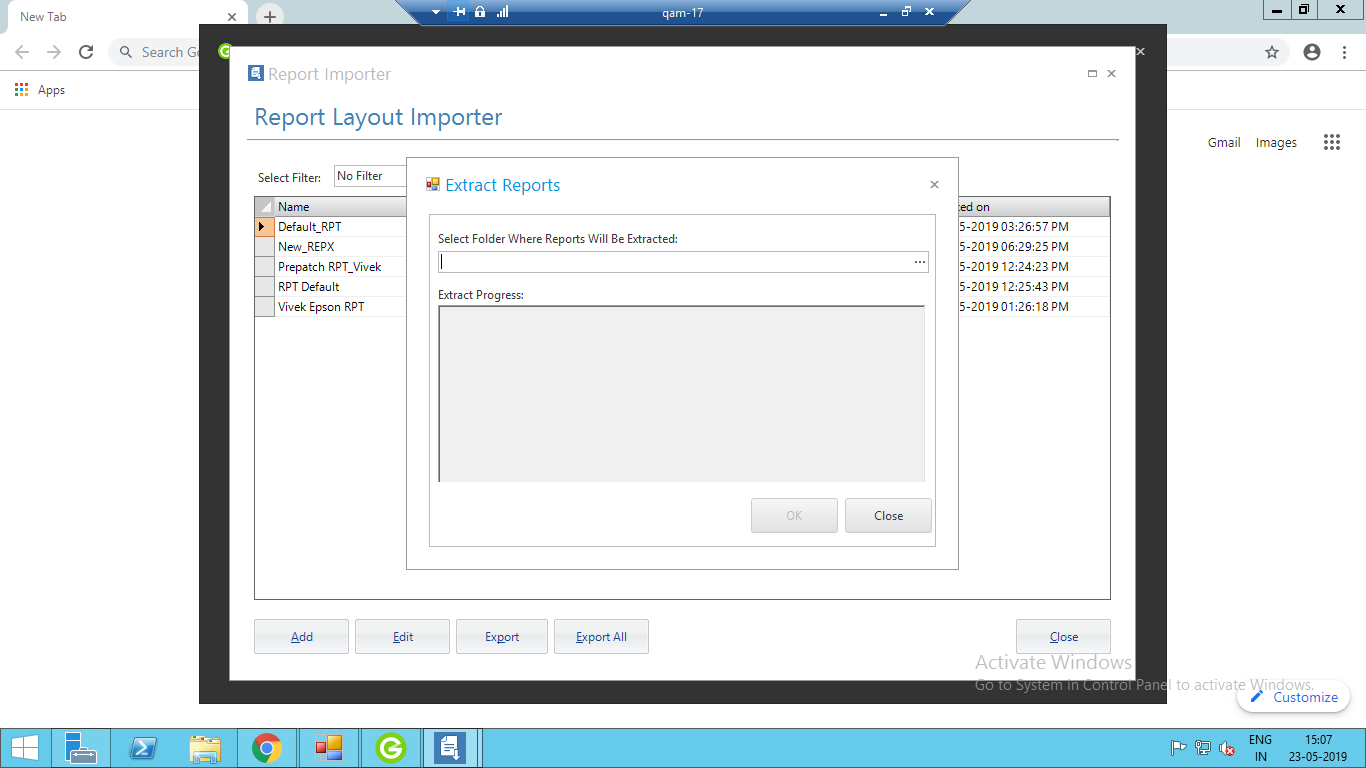
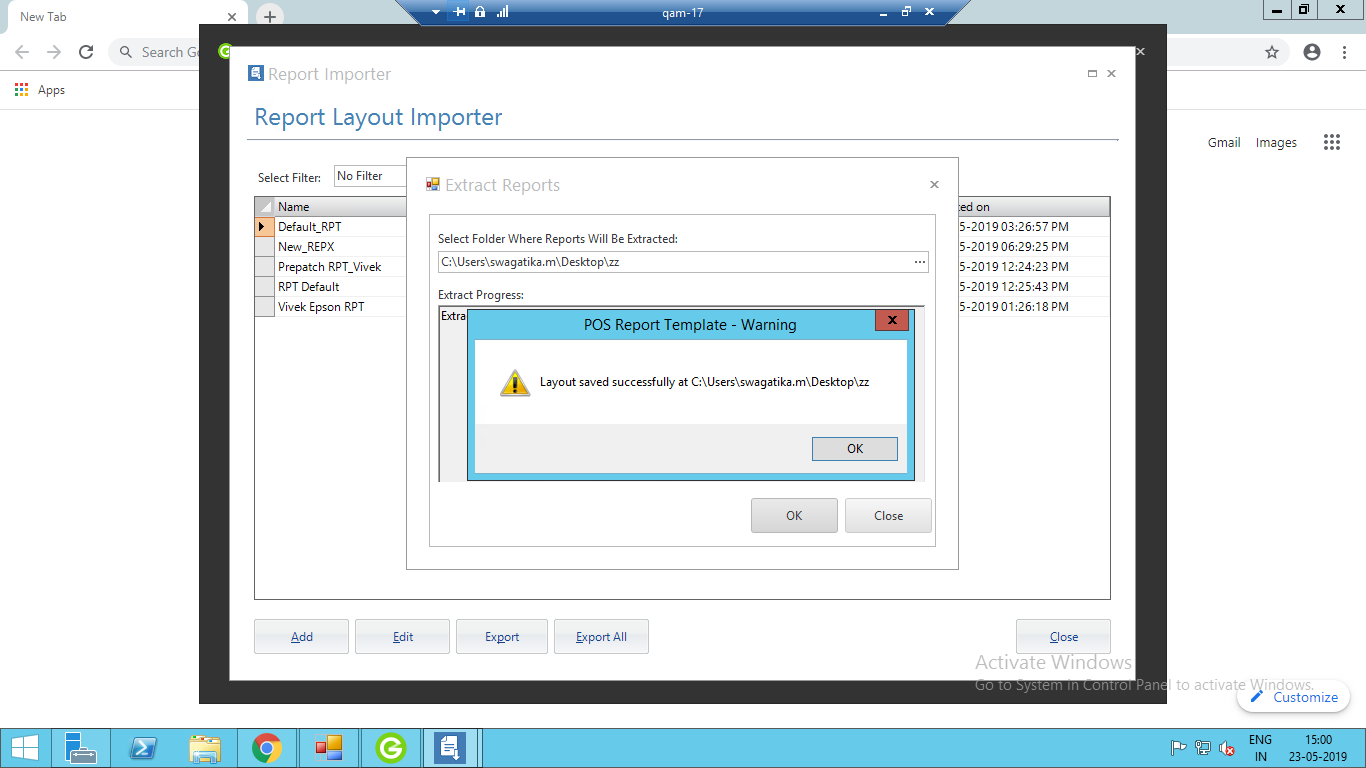
j. Browse the folder and click on OK button
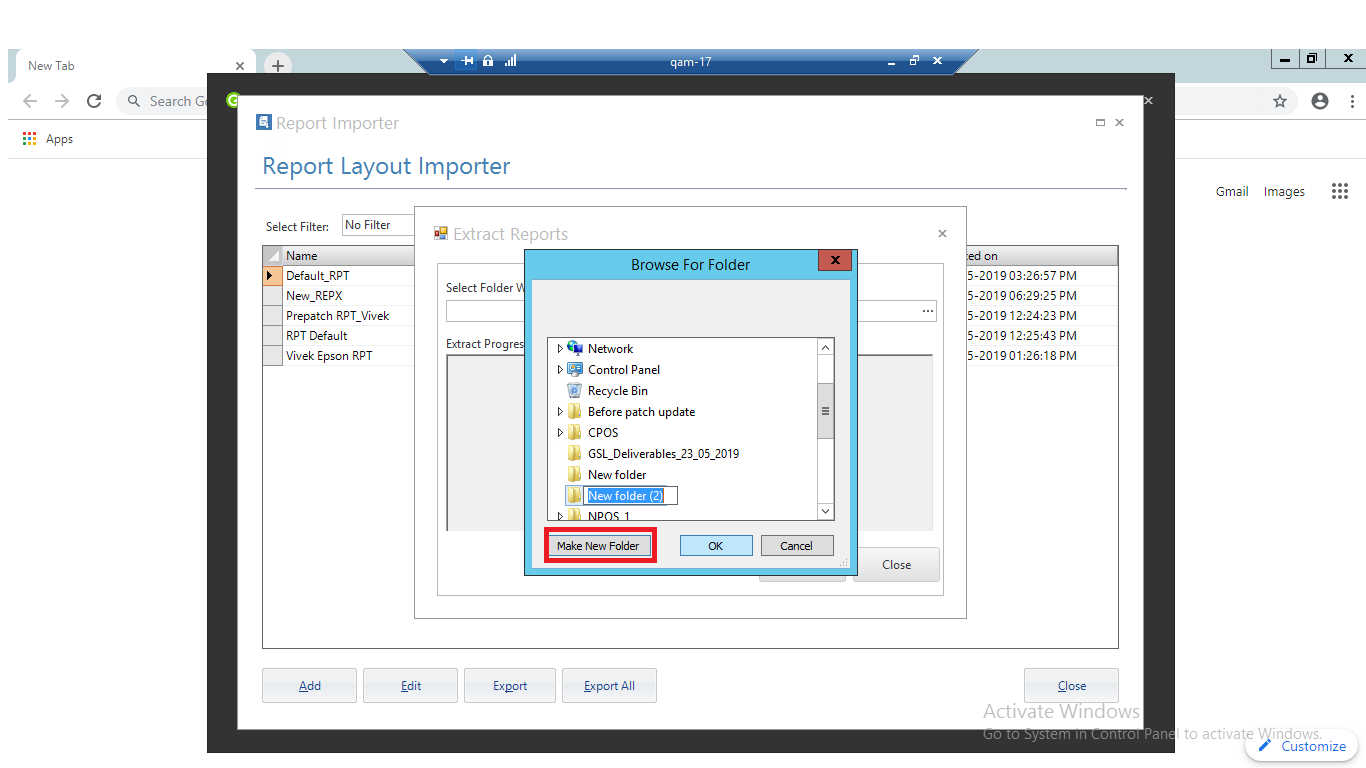
k. Click on OK button to extract and the layouts will be extracted successfully.
2. Allocate the layout in Web to the Ginesys managed store/ site:
a. Go to Ginesys HO - Ginesys Web - Retail management - Setup - Configure - Allocation Group
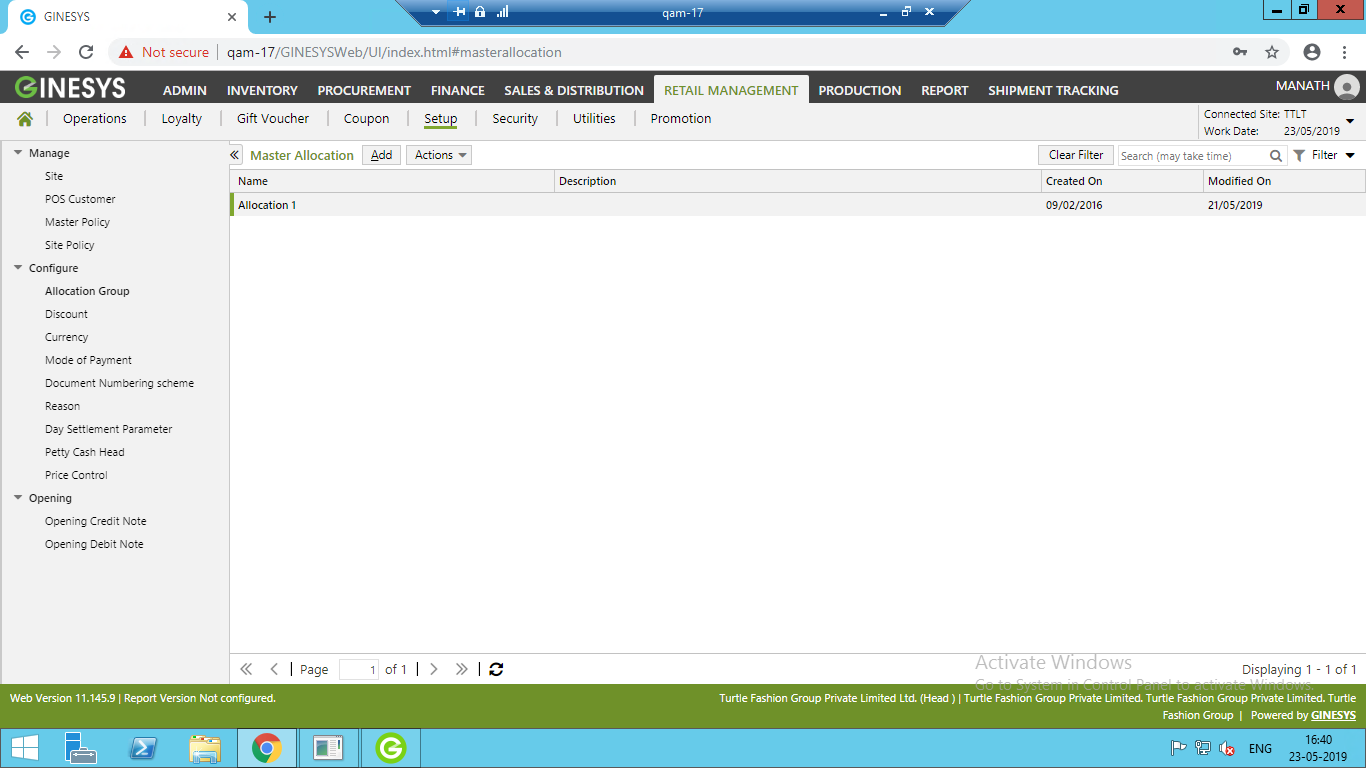
b. Create a new or edit an existing Master Allocation
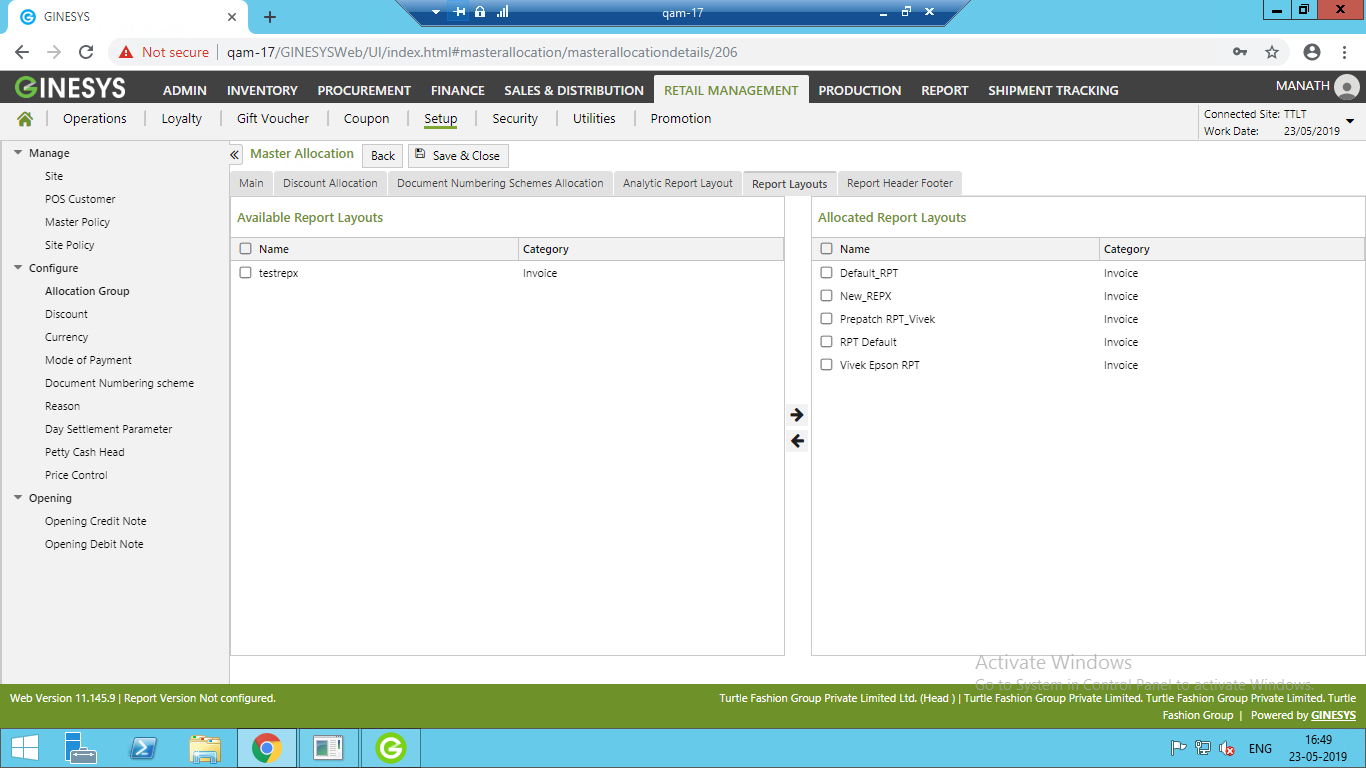
c. Go to 'Report Layout' tab
d. Allocate the Report layout (Move 'Report layout' from 'Available' area to the 'Allocated') and save the Allocation group
e. Go to Ginesys HO - Ginesys Web - Retail management - Setup - Configure - Site
f. Go to 'Group Mapping' tab
g. Select the Allocation group where the required 'Report Layout' has been allocated
h. Save the Site
i. Run data sync from both HO and Store end and confirm that the layout has been synced to the concerned store
3. Assign the layout to the POS terminal
a. Go to Ginesys POS - Administration - POS Terminal
b. Select and open the terminal where the REPX Report layout will be printed
c. Select the respective layout for the respective transaction type

d. Save the terminal
4. Re-login Ginesys POS application
5. Print the the Report from the POS terminal as per the assigned layout
- Go to NPOS - POS Bill
- Scan item and Save the Bill
- Bill will be printed automatically with the REPX report layout as expected
- Or
- Reprint existing bill
- Bill will be printed with the REPX report layout as expected
1. The new changes regarding XTRA Reports and Crystal Reports will be available from Ginesys Head Office and Ginesys POS version (11.147.0-1.147.0)
2. User will not be able to import Report layout in '.zip' format. Only '.rpt' and '.repx' format will be allowed to import in Giensys HO - POS Report Template.
3. POS Default Report will always be printed by delivered 'POS Default .rpt'. 'POS Default .repx' will be delivered for reference use only for creating new Report layout. It will not be printed as per automatic 'Default Report layout' printing concept.
Related articles